
Starting May 19th, agencies will need to register a Yandex ID organization to add a new client.
This new approach reduces the steps needed to register a client and simplifies access to the client’s account.
It also allows clients to use a single login for all Yandex services. Additionally, the Yandex ID organization reduces the risk of losing client login credentials.
Timeline of changes
In the Yandex Direct interface
On May 19, the client registration page will be updated. From this date, new clients can only be added through a Yandex ID organization. The current client registration method will no longer be available.
In the Yandex Direct API
From May 19 to June 16, both the new and previous methods will be available.
Starting June 16, new clients can only be registered through Yandex ID organizations. The previous method will no longer be supported.
How the client registration method will change in Yandex Direct
How clients are added now
Step 1. Registration. The agency creates a new account for the client and provides them with their login and password.

What client registration looks like now
Step 2. Registration complete. When the client logs in to their new account for the first time, they need to change their password and set a phone number or security question for password recovery.
How to add new clients from May 19
Step 1. Registration. The agency representative goes to My clients → Register a new client

Step 2. Filling in the client’s organization details. On the updated registration page, provide:
- The organization name. Ensure the name is easily recognizable — it will appear in the list on the My clients page
- Currency for Yandex Direct payments
- An email address to receive ad campaign notifications
- The organization type (select from a list)
- Client organization’s VAT (Value Added Tax Identification Number)

Click “Register new client” to create a Yandex ID organization.
How to grant clients access to Yandex Direct
To do this, the client must be added to a Yandex ID organization.
Once you’ve created a Yandex ID organization, two employees are added to it automatically:
Any of them can add a client to the Yandex ID organization. |
To add a new user to the Yandex ID organization, follow these steps:
1. Log in to Yandex ID with an agency account and navigate to the Yandex ID organization’s account. To do this, click your account’s icon in the upper right corner and choose the organization in the drop-down list.
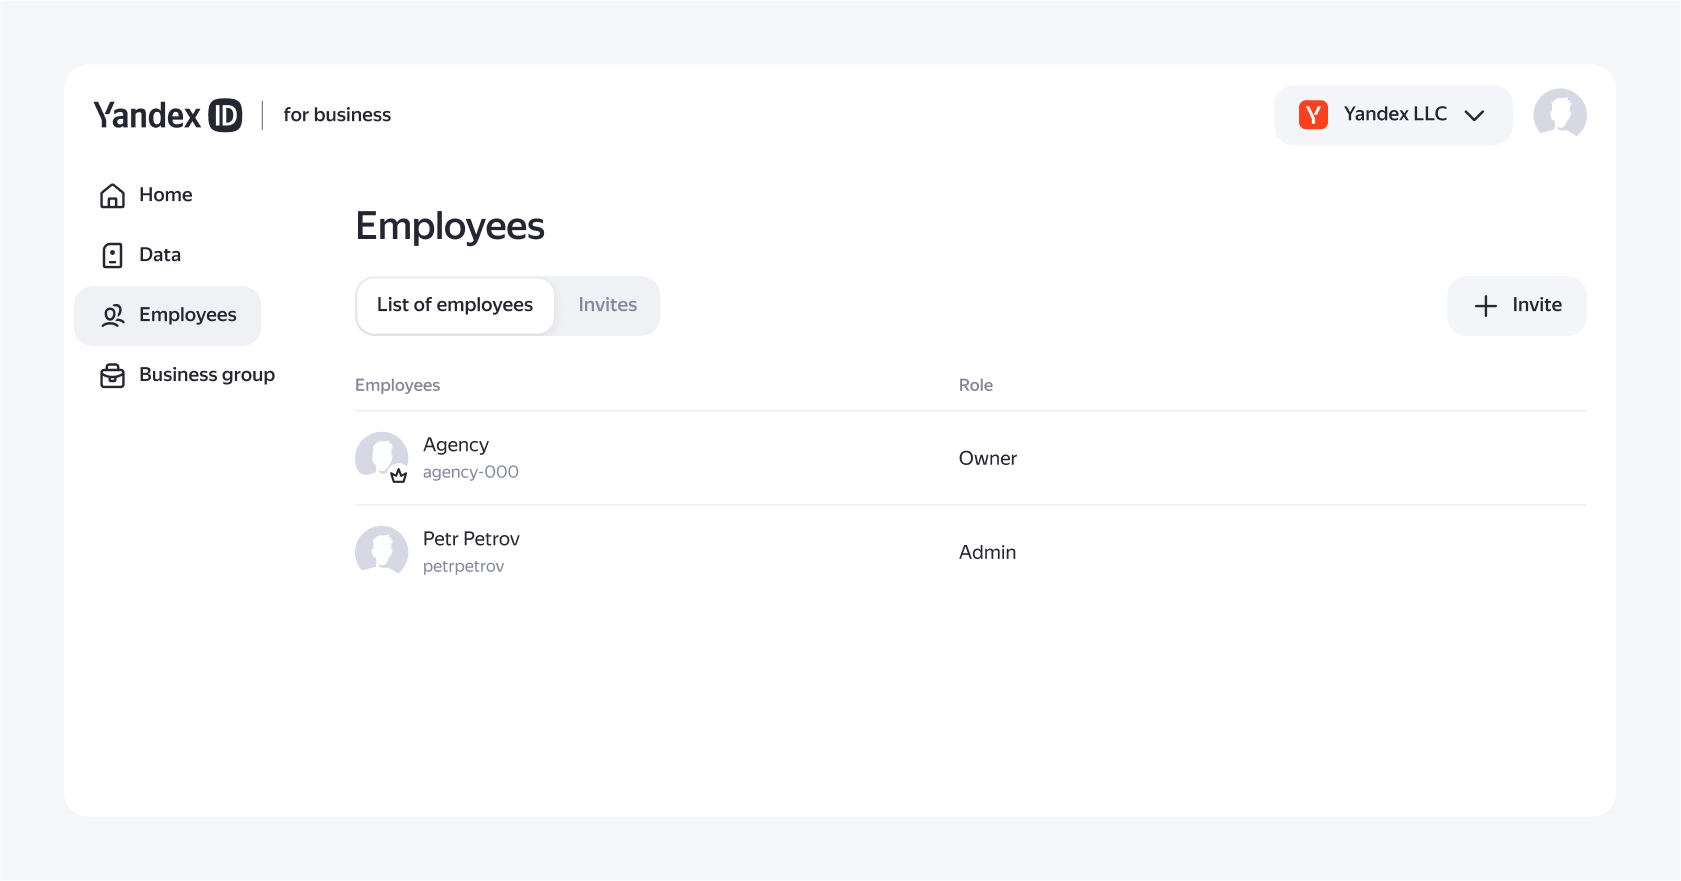
This will take you to the Yandex ID organization’s account:

2. Under Employees, create an invitation so that the client can join the organization.

3. Choose the client’s role in the organization:
- The administrator can only invite and delete other organization participants.
- A participant can only view the organization members and staff roles.

4. Send an invitation. To do this, enter the user’s phone number or email address and click Send. Clients do not need to create new accounts to join an organization.

An invitation to the organization is sent to this phone number or email address.
You can also invite a new user via a link. To do this, click the appropriate button, copy the link, and send it to the client.

Logging in to Yandex Direct in Yandex ID organization mode
Starting April 28, you no longer need to log out of your account to access Yandex Direct. Click your account’s icon in the upper right corner and choose the client’s organization in the drop-down menu.

When logging in to Yandex Direct in Yandex ID organization mode, all employees, regardless of their role in the organization, will have access as the client’s chief representative. To change the chief representative or add or remove a client’s representative, log in to Yandex Direct in Yandex ID organization mode. Learn more about client representatives. |

How to prepare for changes in the Yandex Direct API
To create clients for agencies in the application, you need to:
- Start using the new method. For a detailed description of the settings, see Help.
- Ensure that access to passport:business data is configured in the application settings.
- Ensure that the user token renewal mechanism is functioning correctly.


