Creating an experiment
Step 1. Go to Varioqub
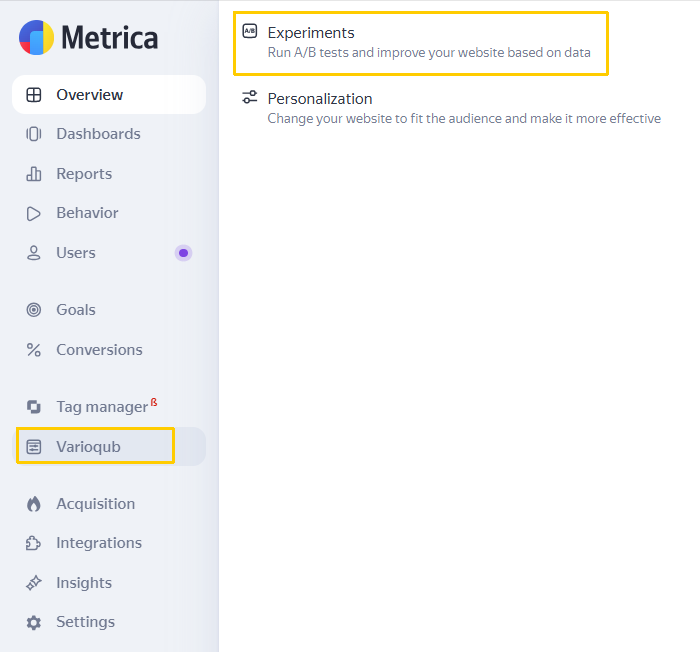
Open your Yandex Metrica account, select a tag, and click Varioqub → Experiments in the sidebar.
What it looks like
Step 2. Create a new experiment
On the experiments page, click Create experiment.
What it looks like
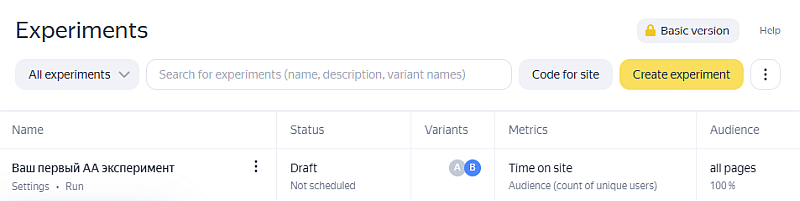
A page for setting up a new experiment opens.
Step 3. Customize the experiment
Give your experiment a name to distinguish it from others and add a description (optional).
Some settings are only available with certain plans. Experiment parameters that aren't available with your current plan are marked with the icon. To learn more about different plans, see Additional functionality.
Configure the settings in the sections available with your plan.
Sections with settings
|
Section |
Field |
Note |
|
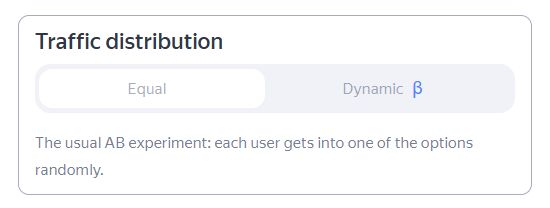
Traffic distribution |
|
Screenshot
|
|
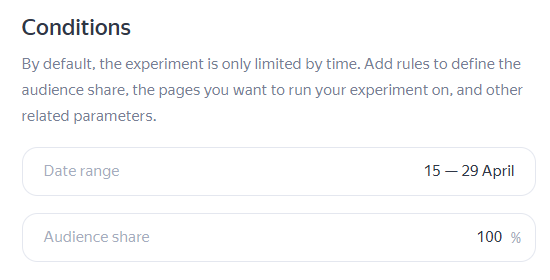
Date range: Duration of the experiment, from 1 to 90 days. |
Screenshot
|
|
|
Audience share: The percentage of users to be involved in the experiment, from 1% to 100%. |
||
|
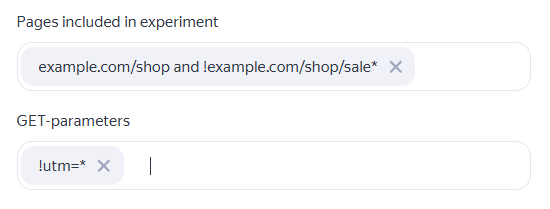
Pages included in experiment: Website domain and URL path without a protocol ( |
You can set conditions using regular expressions and combine them with logical Screenshot
|
|
|
GET parameters: GET parameters that are separated from the URL path by a |
||
|
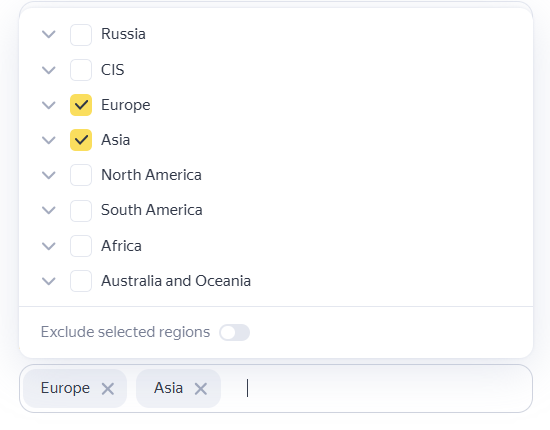
Regions: Regions included in the experiment. |
They are determined by the IP addresses of site visitors. If you want to exclude certain regions from the experiment, select them in the list and toggle the Exclude selected regions option. Screenshot
|
|
|
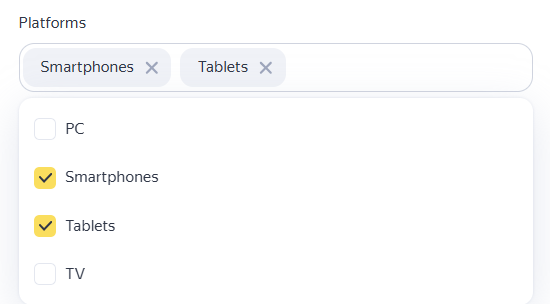
Platforms: Devices on which you want to run your experiment. |
They are determined by the User-Agent of site visitors. Screenshot
|
|
|
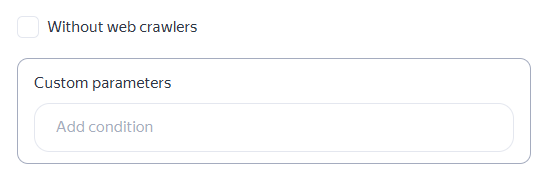
Custom parameters: Custom parameters that can characterize site visitors. For example, by indicating that they're an important customer, have registered on your site, and so on. |
This setting is only available with the Standard or Extended plan. To take custom parameters into account in the experiment, make sure that your site sends them. To apply a condition in the experiment, click Add condition. Screenshot
|
|
|
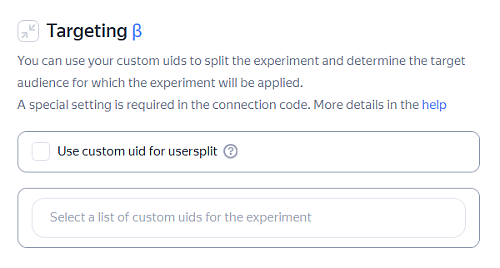
You can divide site visitors into groups by using custom user IDs. To do this, enable the Use custom uid for usersplit option and fill in the Select a list of custom uids for the experiment field below. |
This setting is only available with the Extended plan. Screenshot
|
|
|
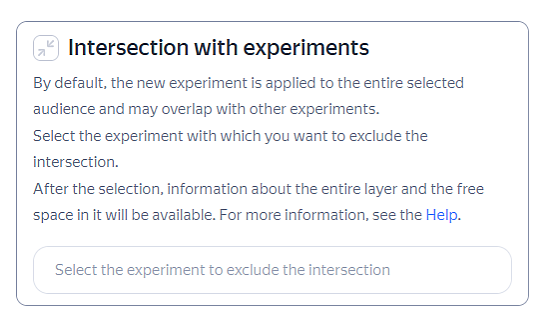
Select the experiment to exclude the intersection: Specify which of the ongoing experiments shouldn't overlap with this experiment. |
This setting is only available with the Extended plan. Screenshot
|
|
|
If you have either the Standard or Extended plan and select a conversion metric as your primary metric, you can also enable Dynamic traffic distribution. Screenshot
|
|
|
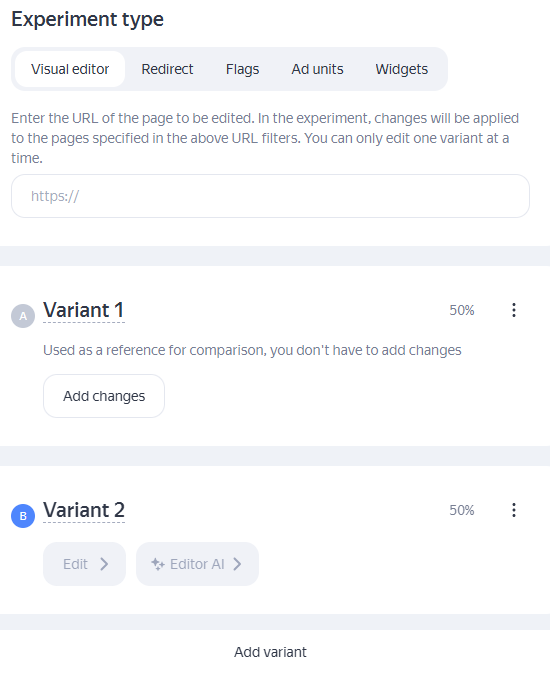
Experiment type |
The method you'll use to modify the experimental version of the page. Screenshot
|
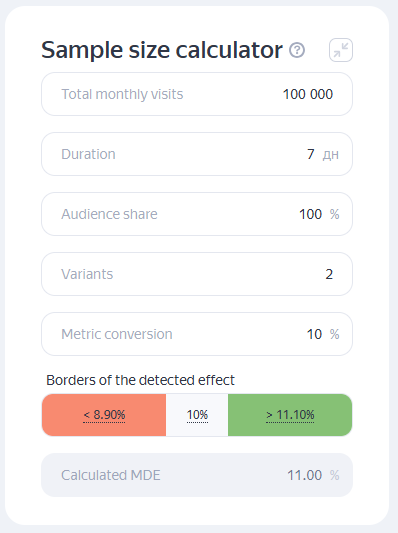
To check that you've set up everything correctly before launching your experiment, use the Sample size calculator and Experiment testing tools.
About these tools
Use the sample size calculator to evaluate the statistical significance of the experiment with the given settings.
Sample size calculator
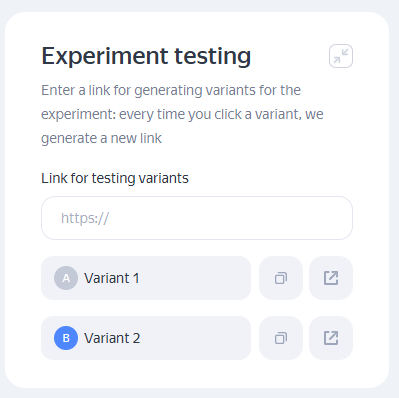
Use experiment testing to check that the changes have been applied and display correctly.
Experiment testing
Step 4. Save the experiment
If you have configured the experiment and are ready to start it, click Save and run. The experiment will start on your specified date.
To save the settings without actually running the experiment, click Save as draft. You'll be able to return to this draft and run the experiment later.
Click Cancel to discard all unsaved changes.
To view a report on the results of a completed experiment go to Varioqub → Experiments, then click View result under that experiment's name. To learn more about reports, see Experiment results report.