How to manually enable E-commerce
Warning
Working with the JavaScript API requires knowledge of HTML and JavaScript. If you don’t know these languages, contact your website developer or webmaster.
-
Select the tag that you want to enable E-commerce for.
-
In the tag settings, enable the E-commerce option. A container for collecting data from
dataLayerwill be added to the code snippet by default.
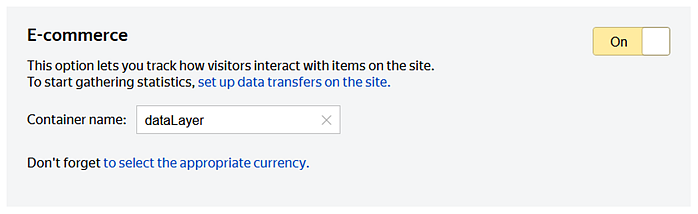
You can also initialize a tag with the ecommerce: true parameter.
-
Install (or update) the code snippet on all the site pages that contain information about products and orders (item details, the “Add to basket” button, and so on).
To do this, copy the tag code. Make sure that the code snippet on the site contains the line:ecommerce:"dataLayer".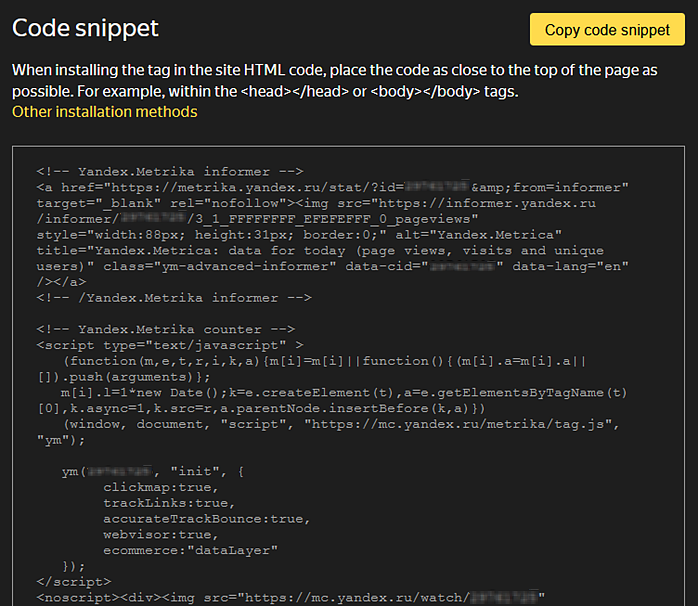
Yandex Metrica automatically collects data from your site, with no extra setup required, if you're already set up with Google Analytics Enhanced Ecommerce or Ecommerce (GA4) (including with the Global Site Tag), because it uses a compatible data format. In this case, skip step 5.
-
On your website, configure data transfer (about adding an item to the basket, buying something, etc.) via the JavaScript API. To transmit information, you need to create a script on the site that will be responsible for a certain event (for example, making an order) in the specified format. You can configure the transmission of all events to receive more complete data, or only some of the events.
Follow this step if you don’t have Google Analytics Enhanced Ecommerce. For each action, create an ecommerce object and place it in the data container (by default —dataLayer). -
Check whether E-commerce is set up correctly.
-
Data appears in Yandex Metrica a few hours after the first data transfer. To view reports, got to Yandex Metrica and open Reports → E-commerce.
Learn more
|
Useful links |
Online training |