Quick start
Step 1. Log in
Note
Don't use personal logins; create a separate login for working with the Yandex Maps API — you won't be able to transfer keys and products from your login to another one.
Open the Yandex Maps API dashboard and log in with your Yandex ID. If you don't have a login yet, register.
Note
When you first enter the Dashboard, in the dialog box select the country where you are a tax resident and from which you will pay for API products. After you confirm your choice, you won't be able to change the country.
Step 2. Select an API product
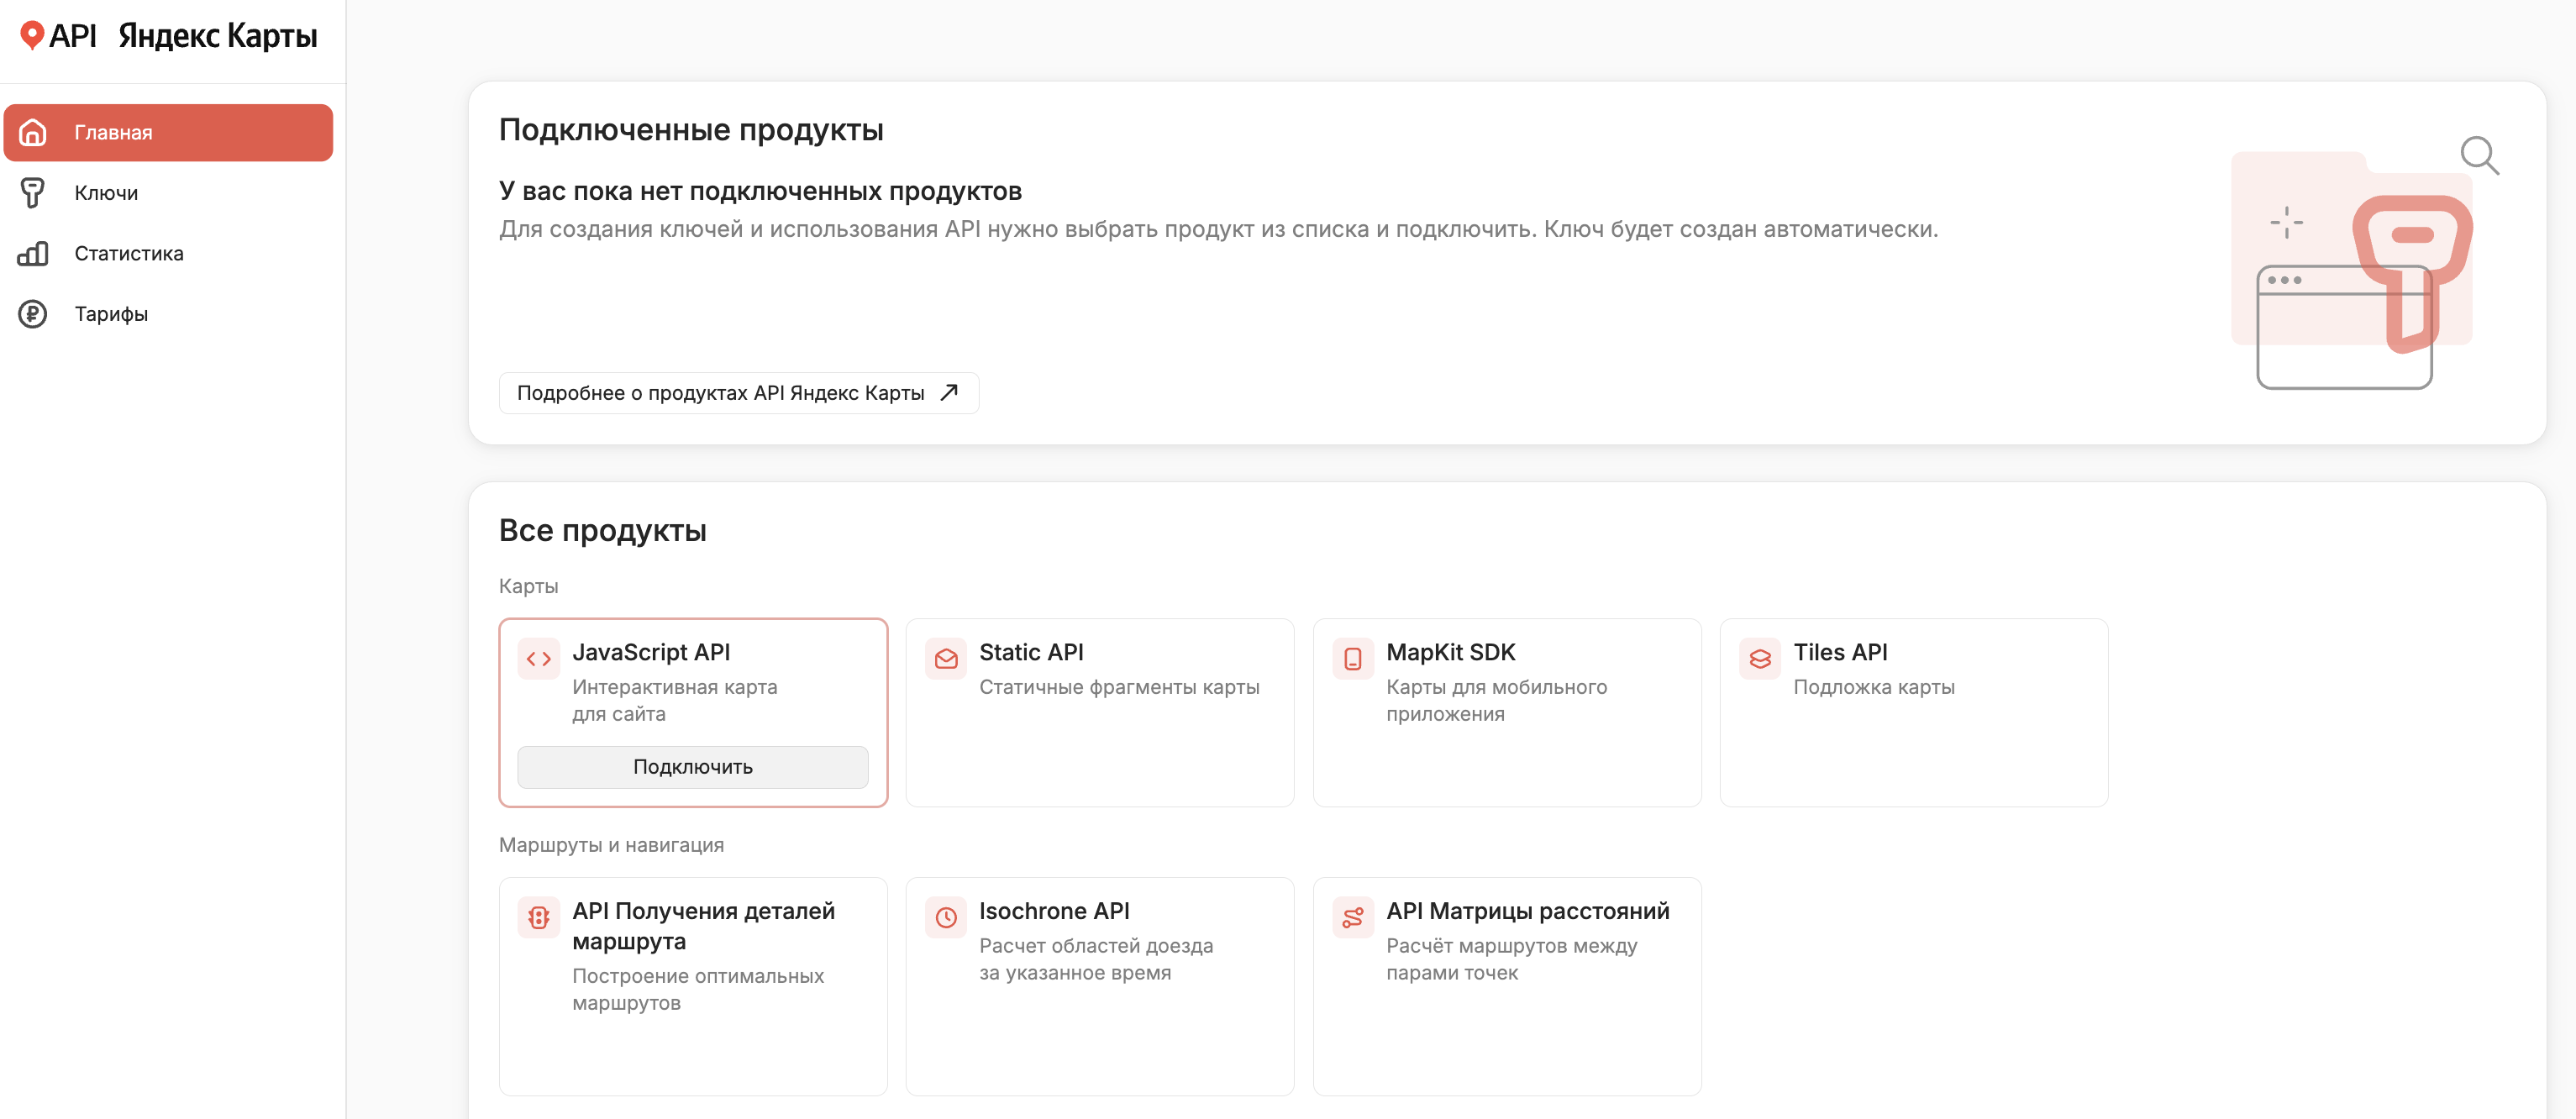
If you don't have any connected APIs:
-
On the main page, hover the cursor over a product card and click the pop-up Connect button.
If you already have connected APIs:
-
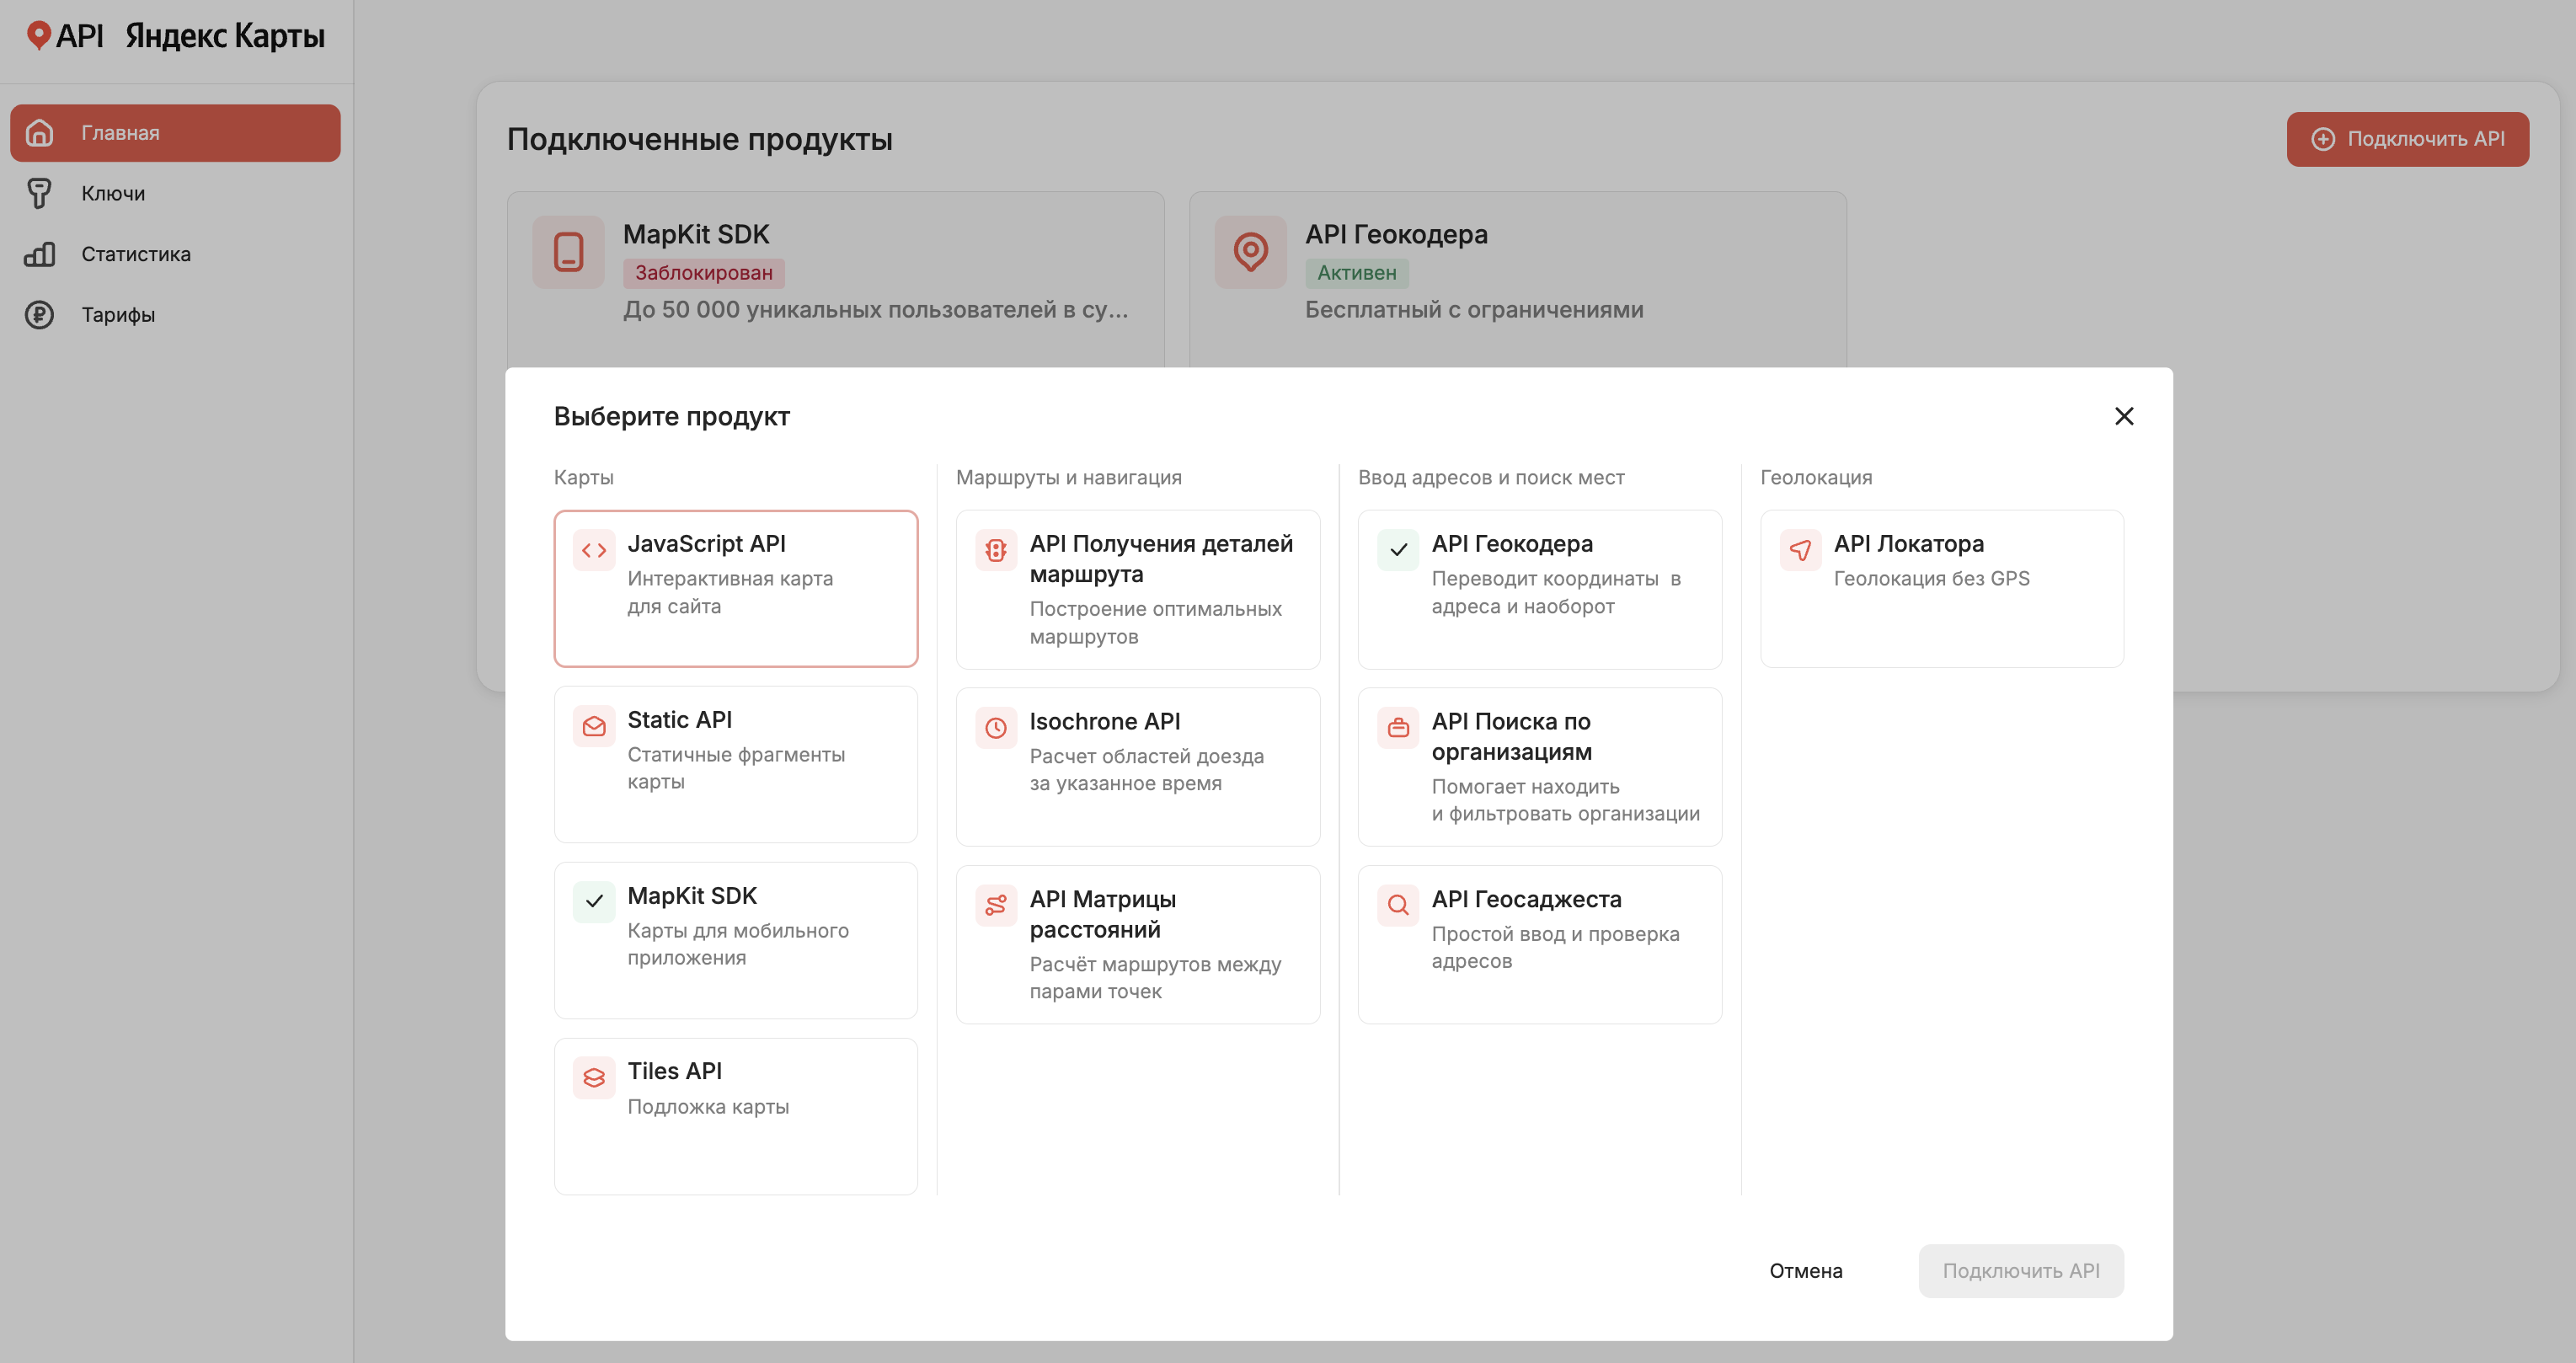
On the main page, click the Connect API button.
-
In the window that opens, hover the cursor over a product card and click it.
-
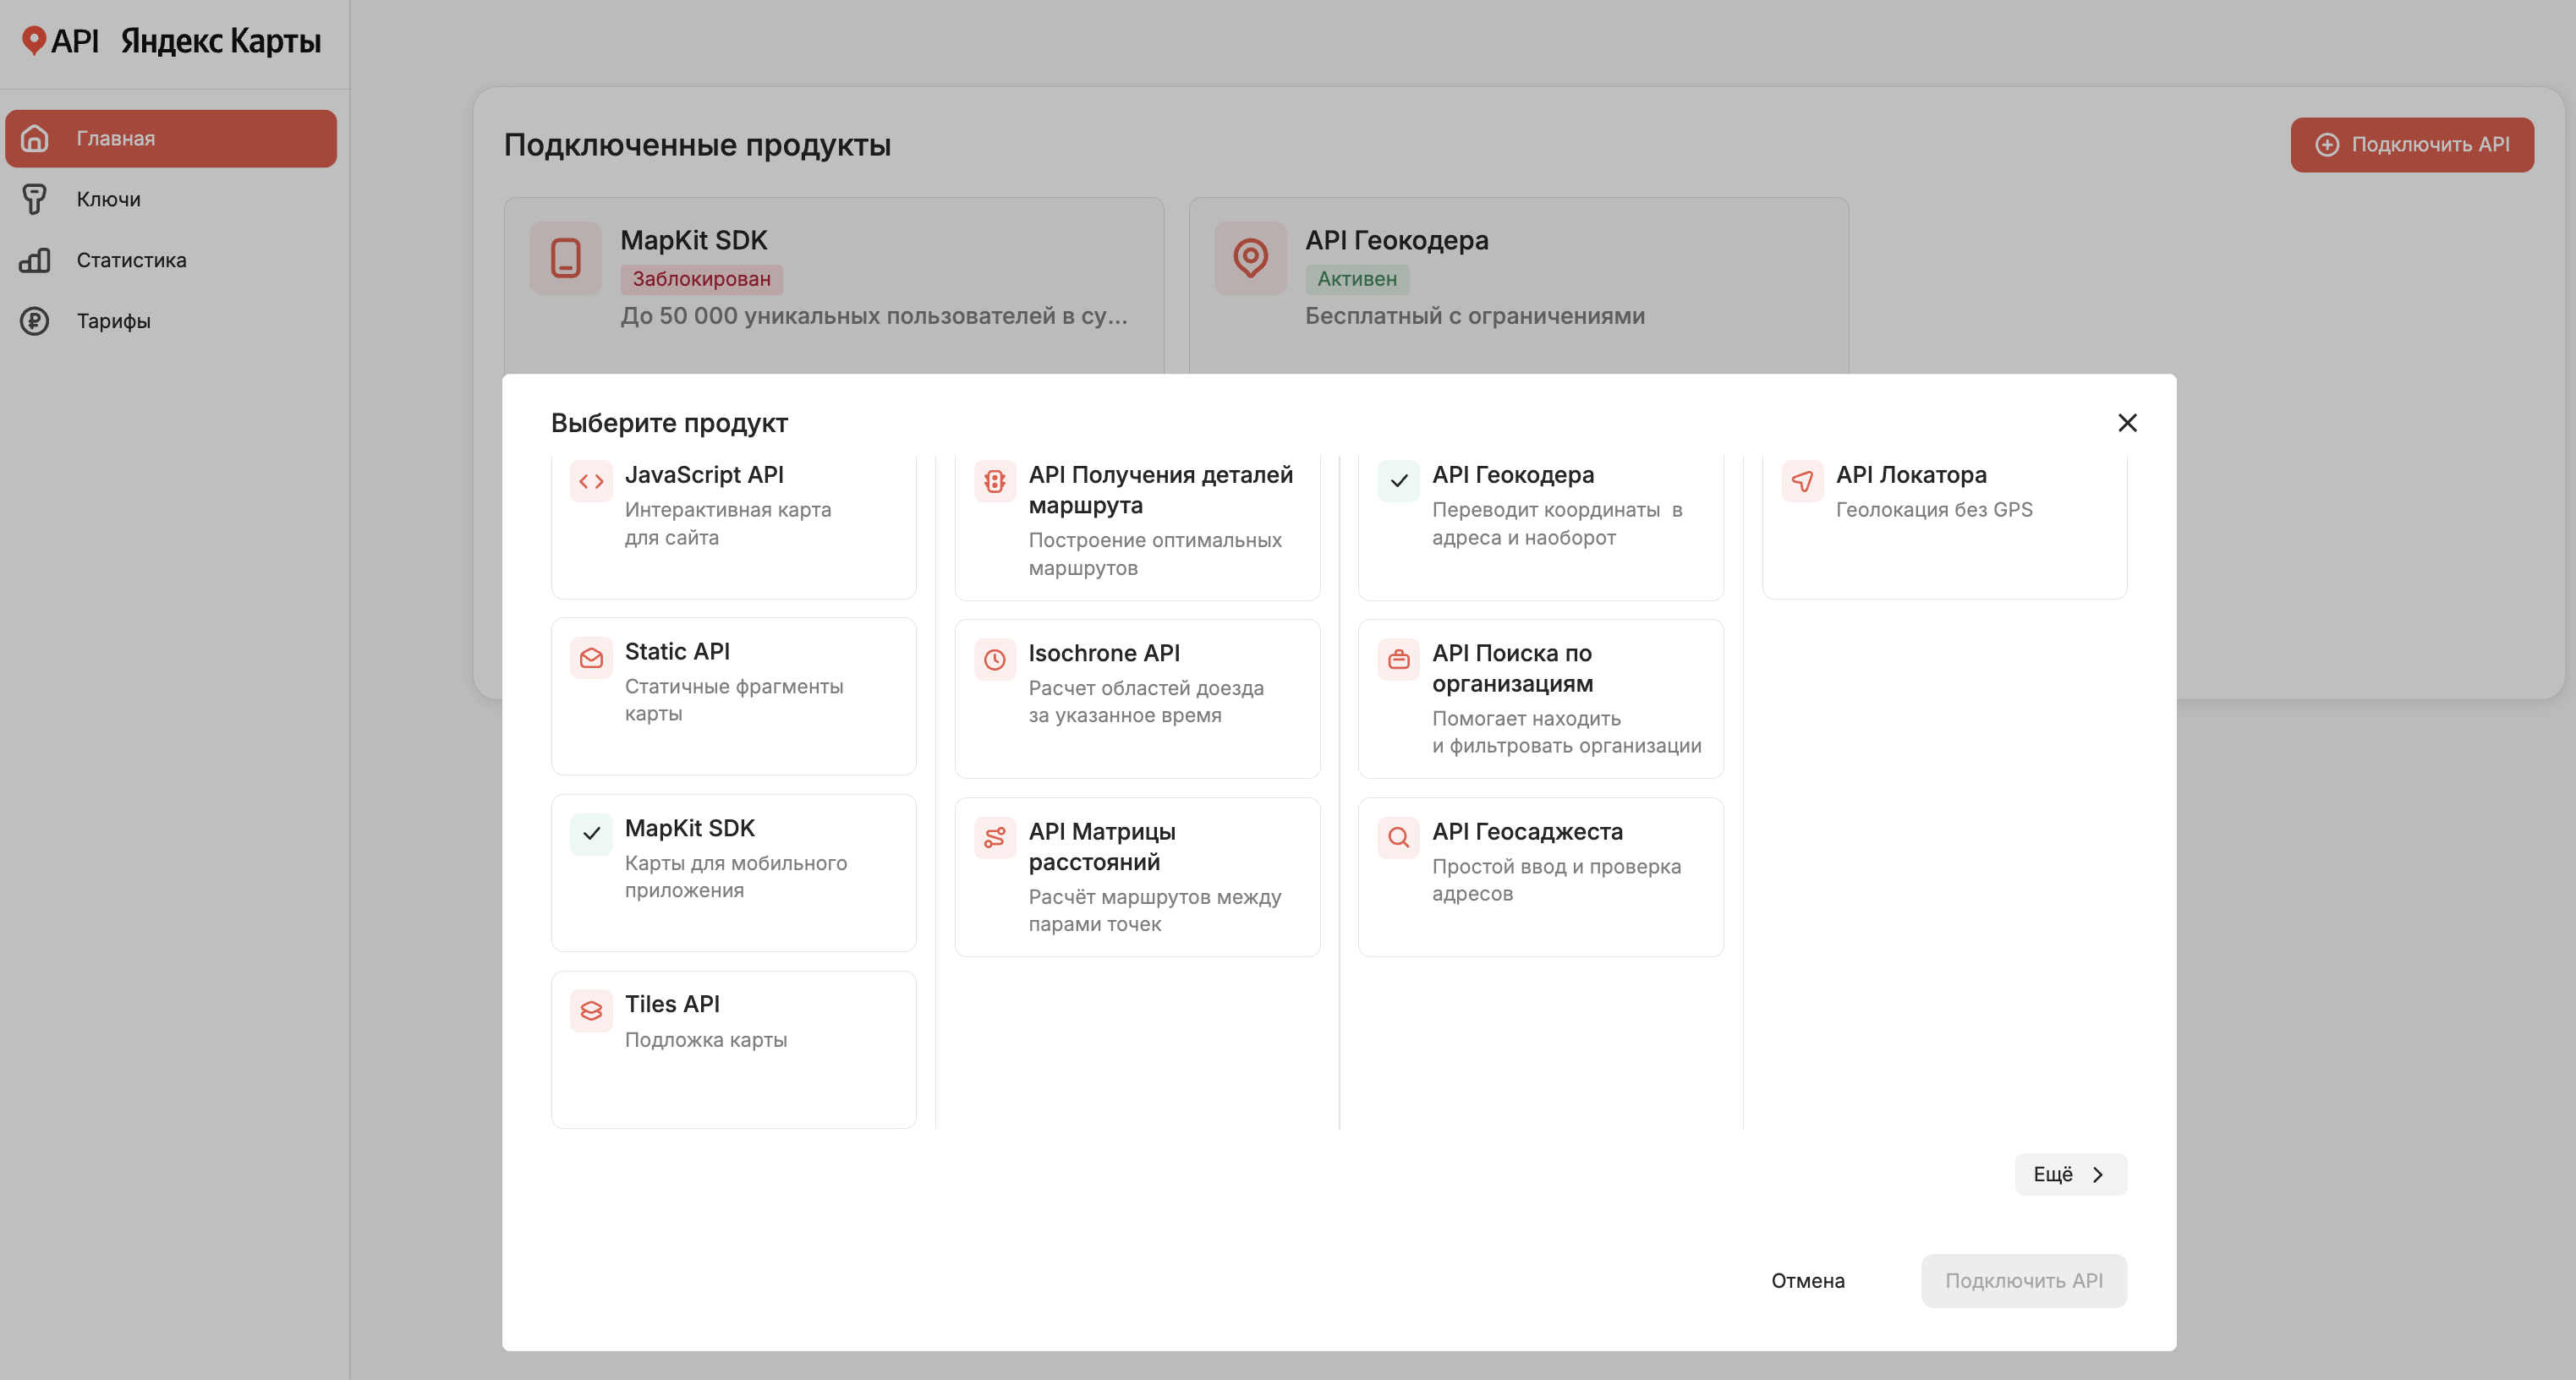
If you need to connect a product that isn't related to the Yandex Maps API, hover the cursor over the More button and click it
-
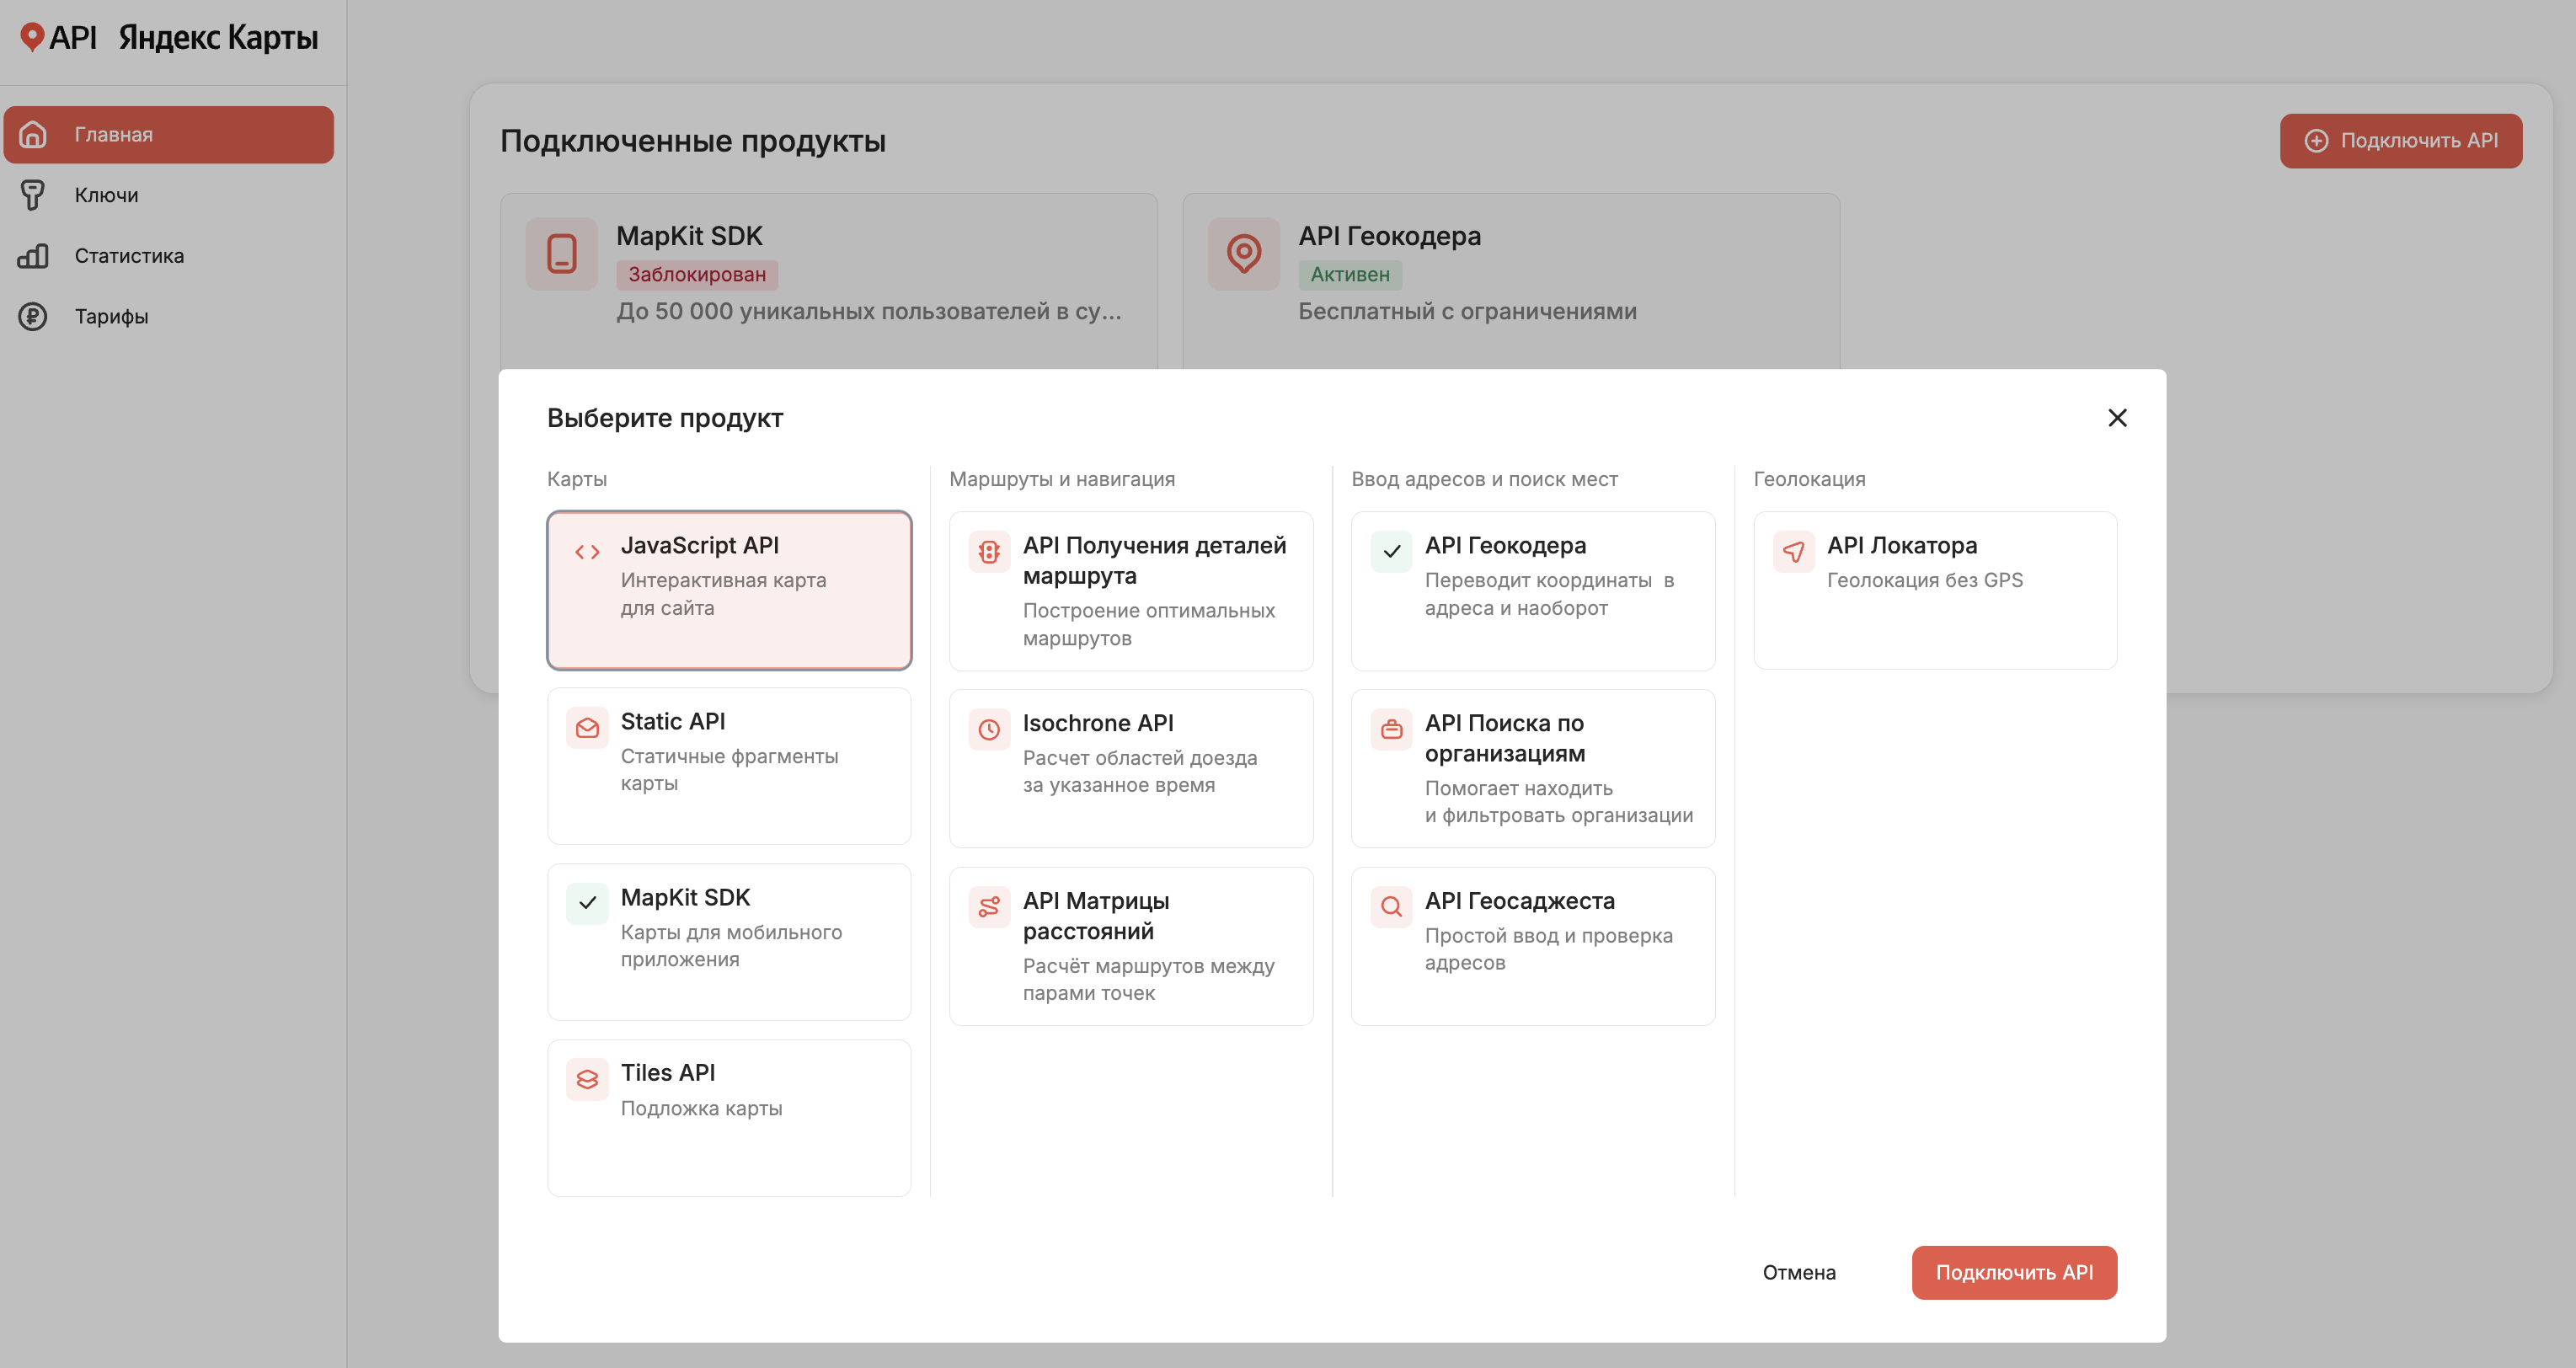
Hover the cursor over a product card and click it.
-
-
Click the Connect API button.
Step 3. Select a plan
On the Plans page that opens:
- Click the product's Usage parameters radio button.
-
Configure the paid plan usage parameters*:
-
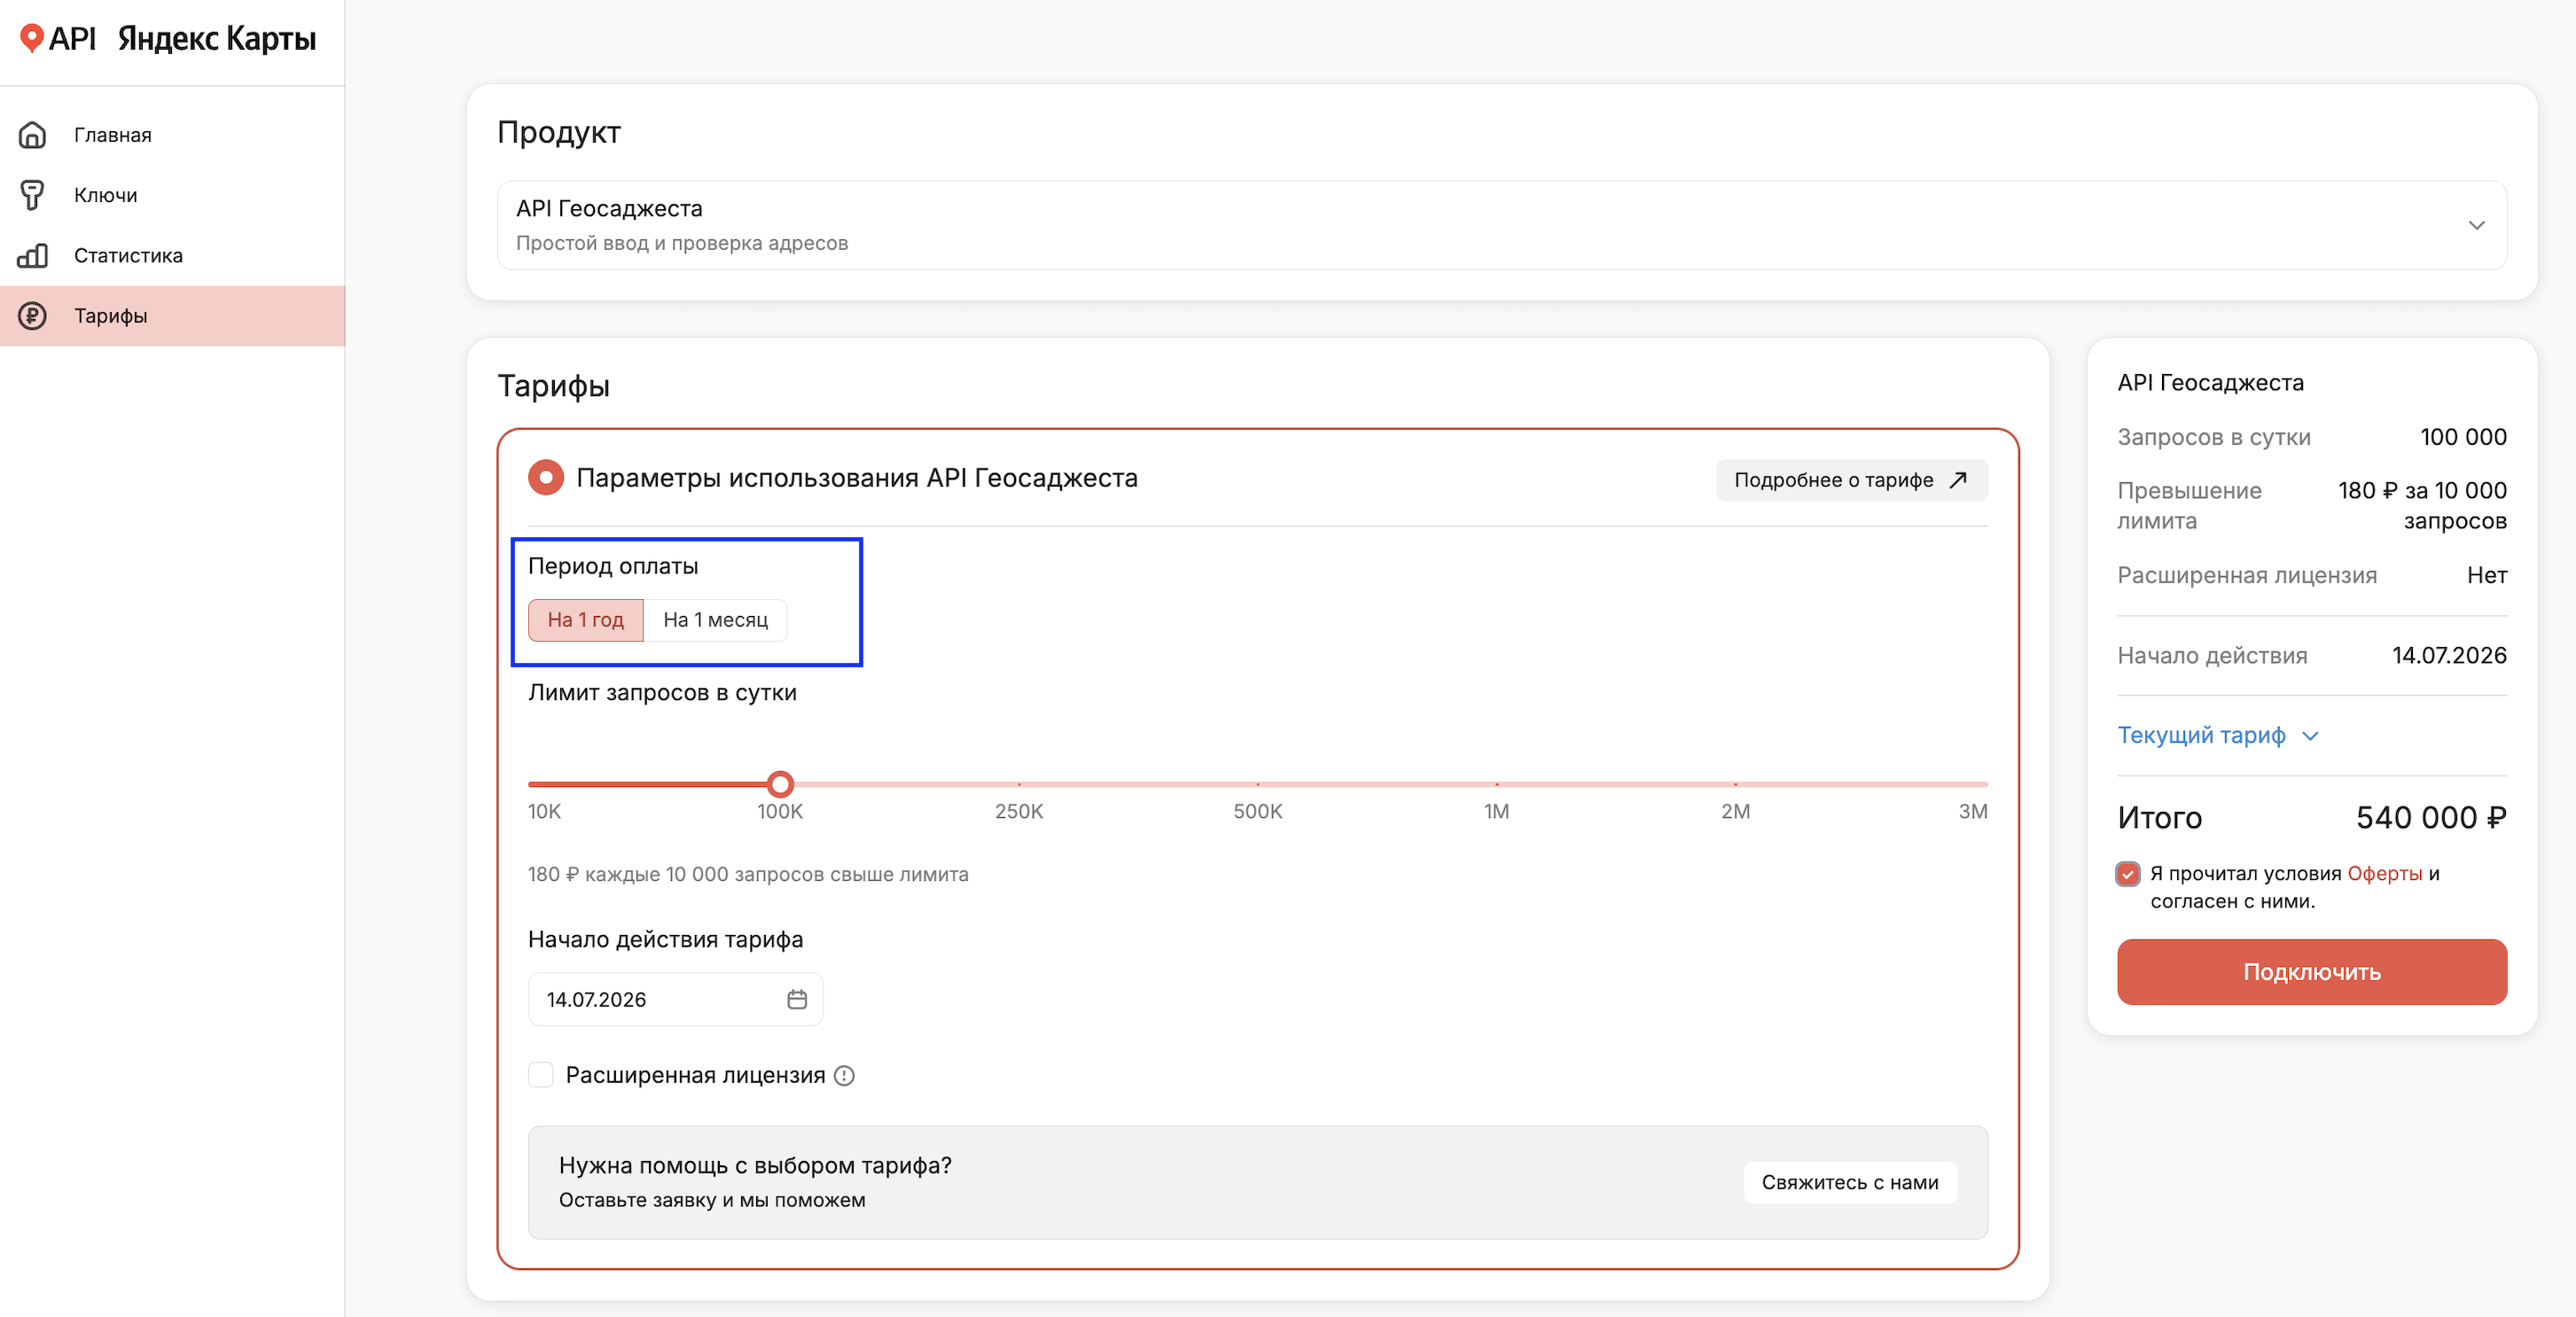
Select the validity period of the paid plan - the payment period: 1 year or 1 month.
-
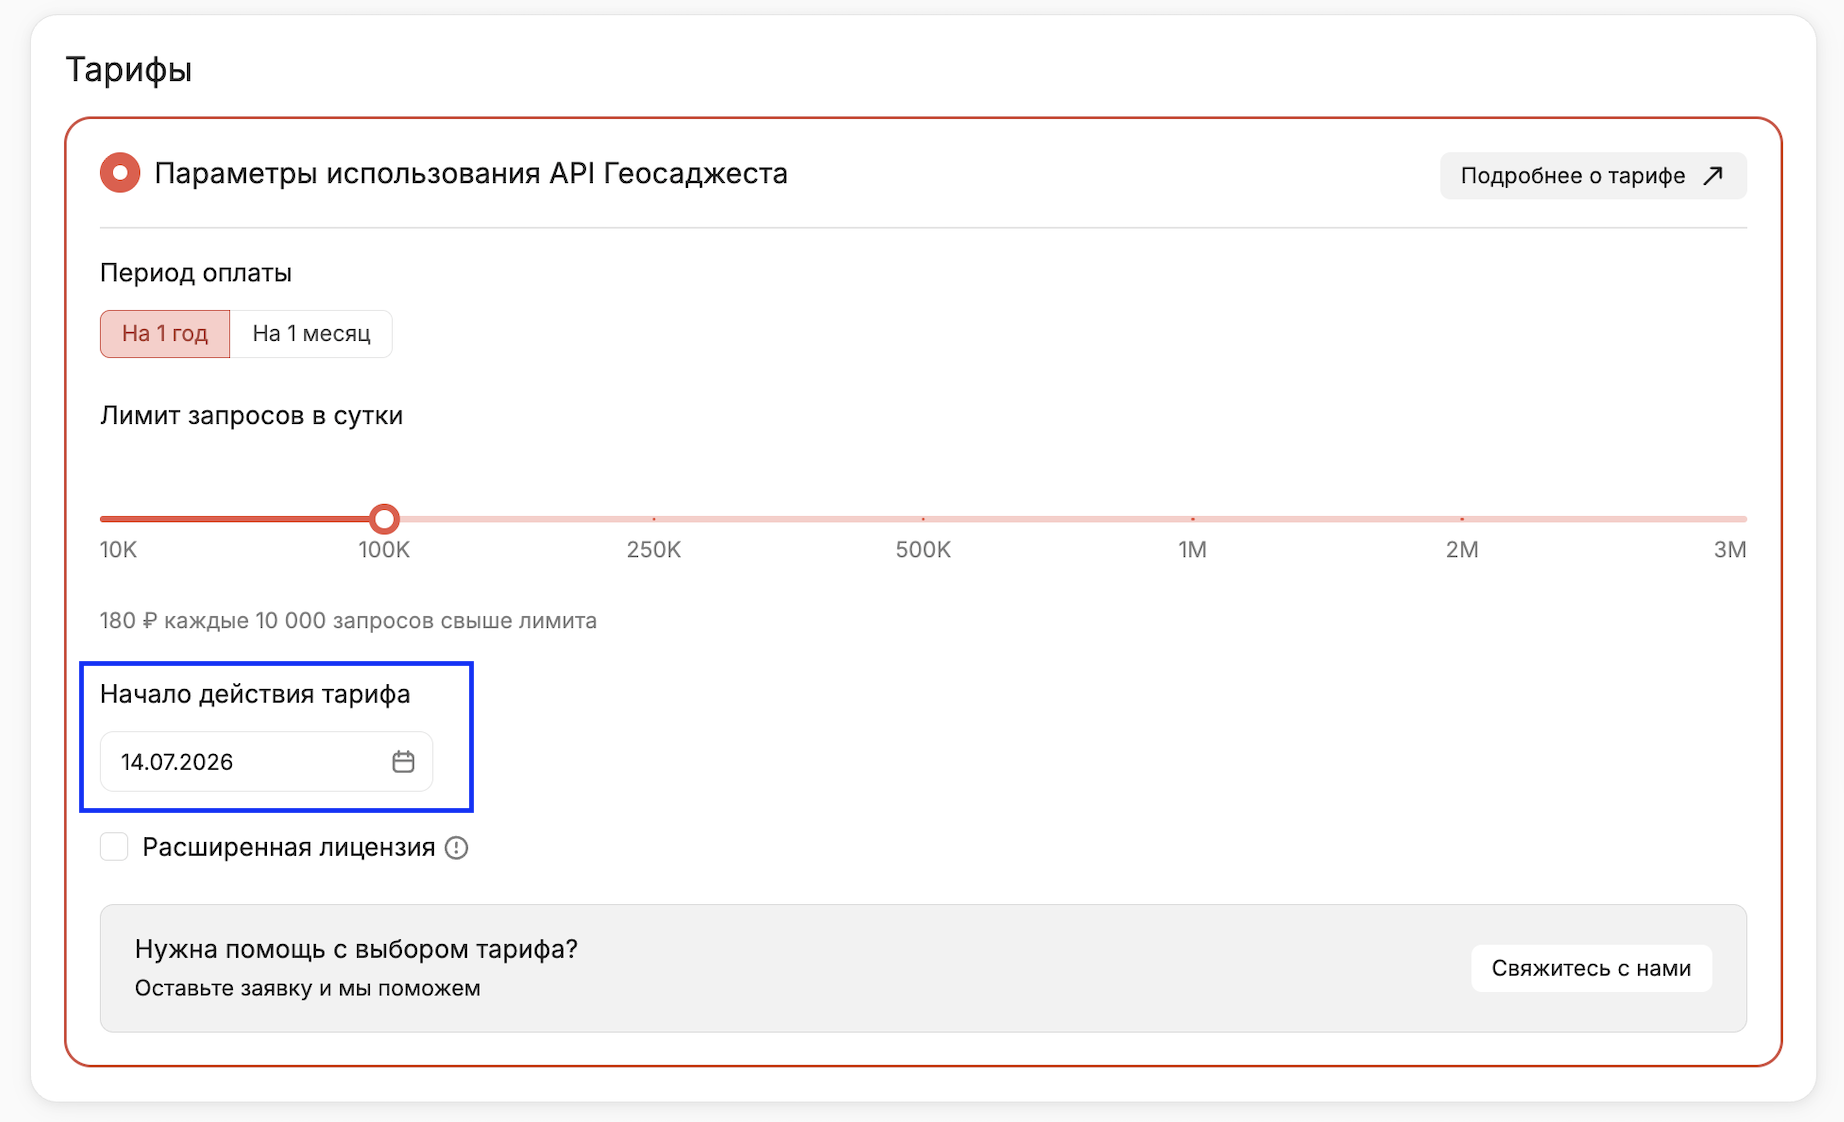
Select the plan start date.
-
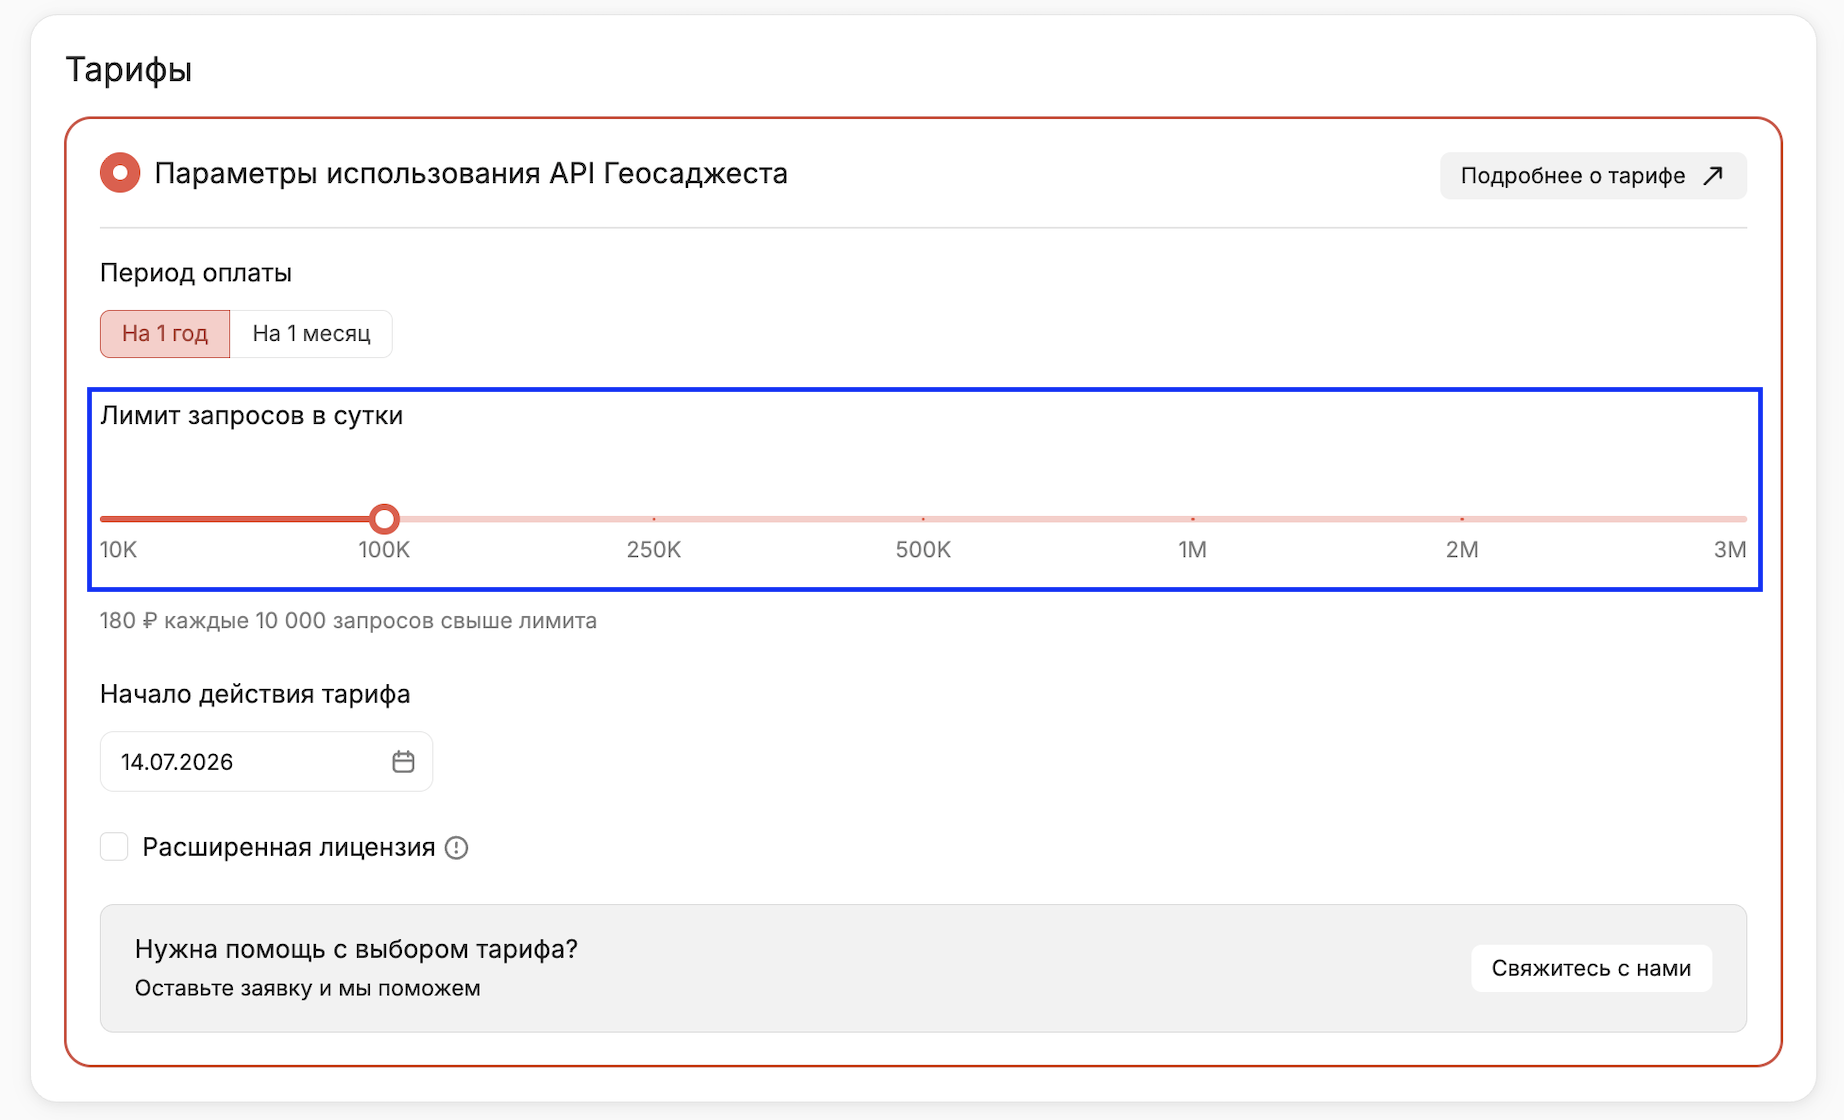
Set the slider to the required daily request limit.
-
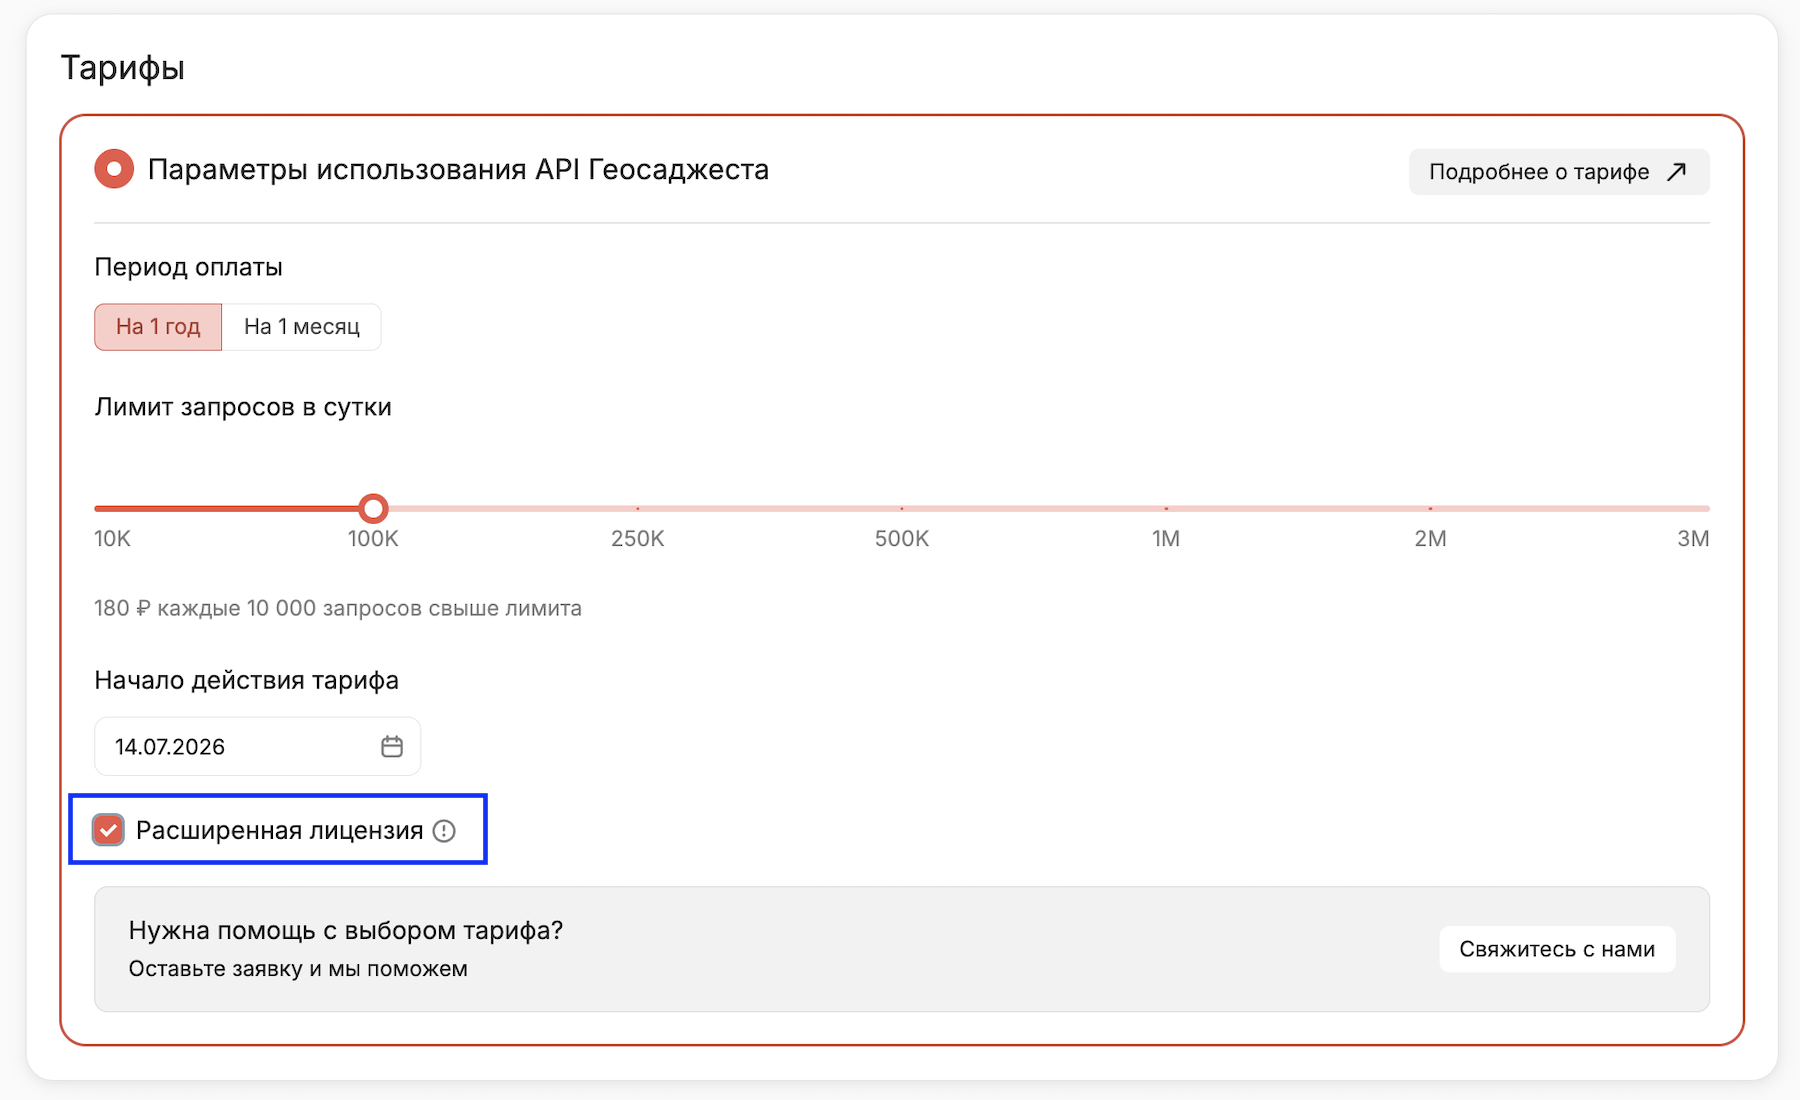
Specify whether an extended license is required to store results during the validity period of the paid plan.
-
-
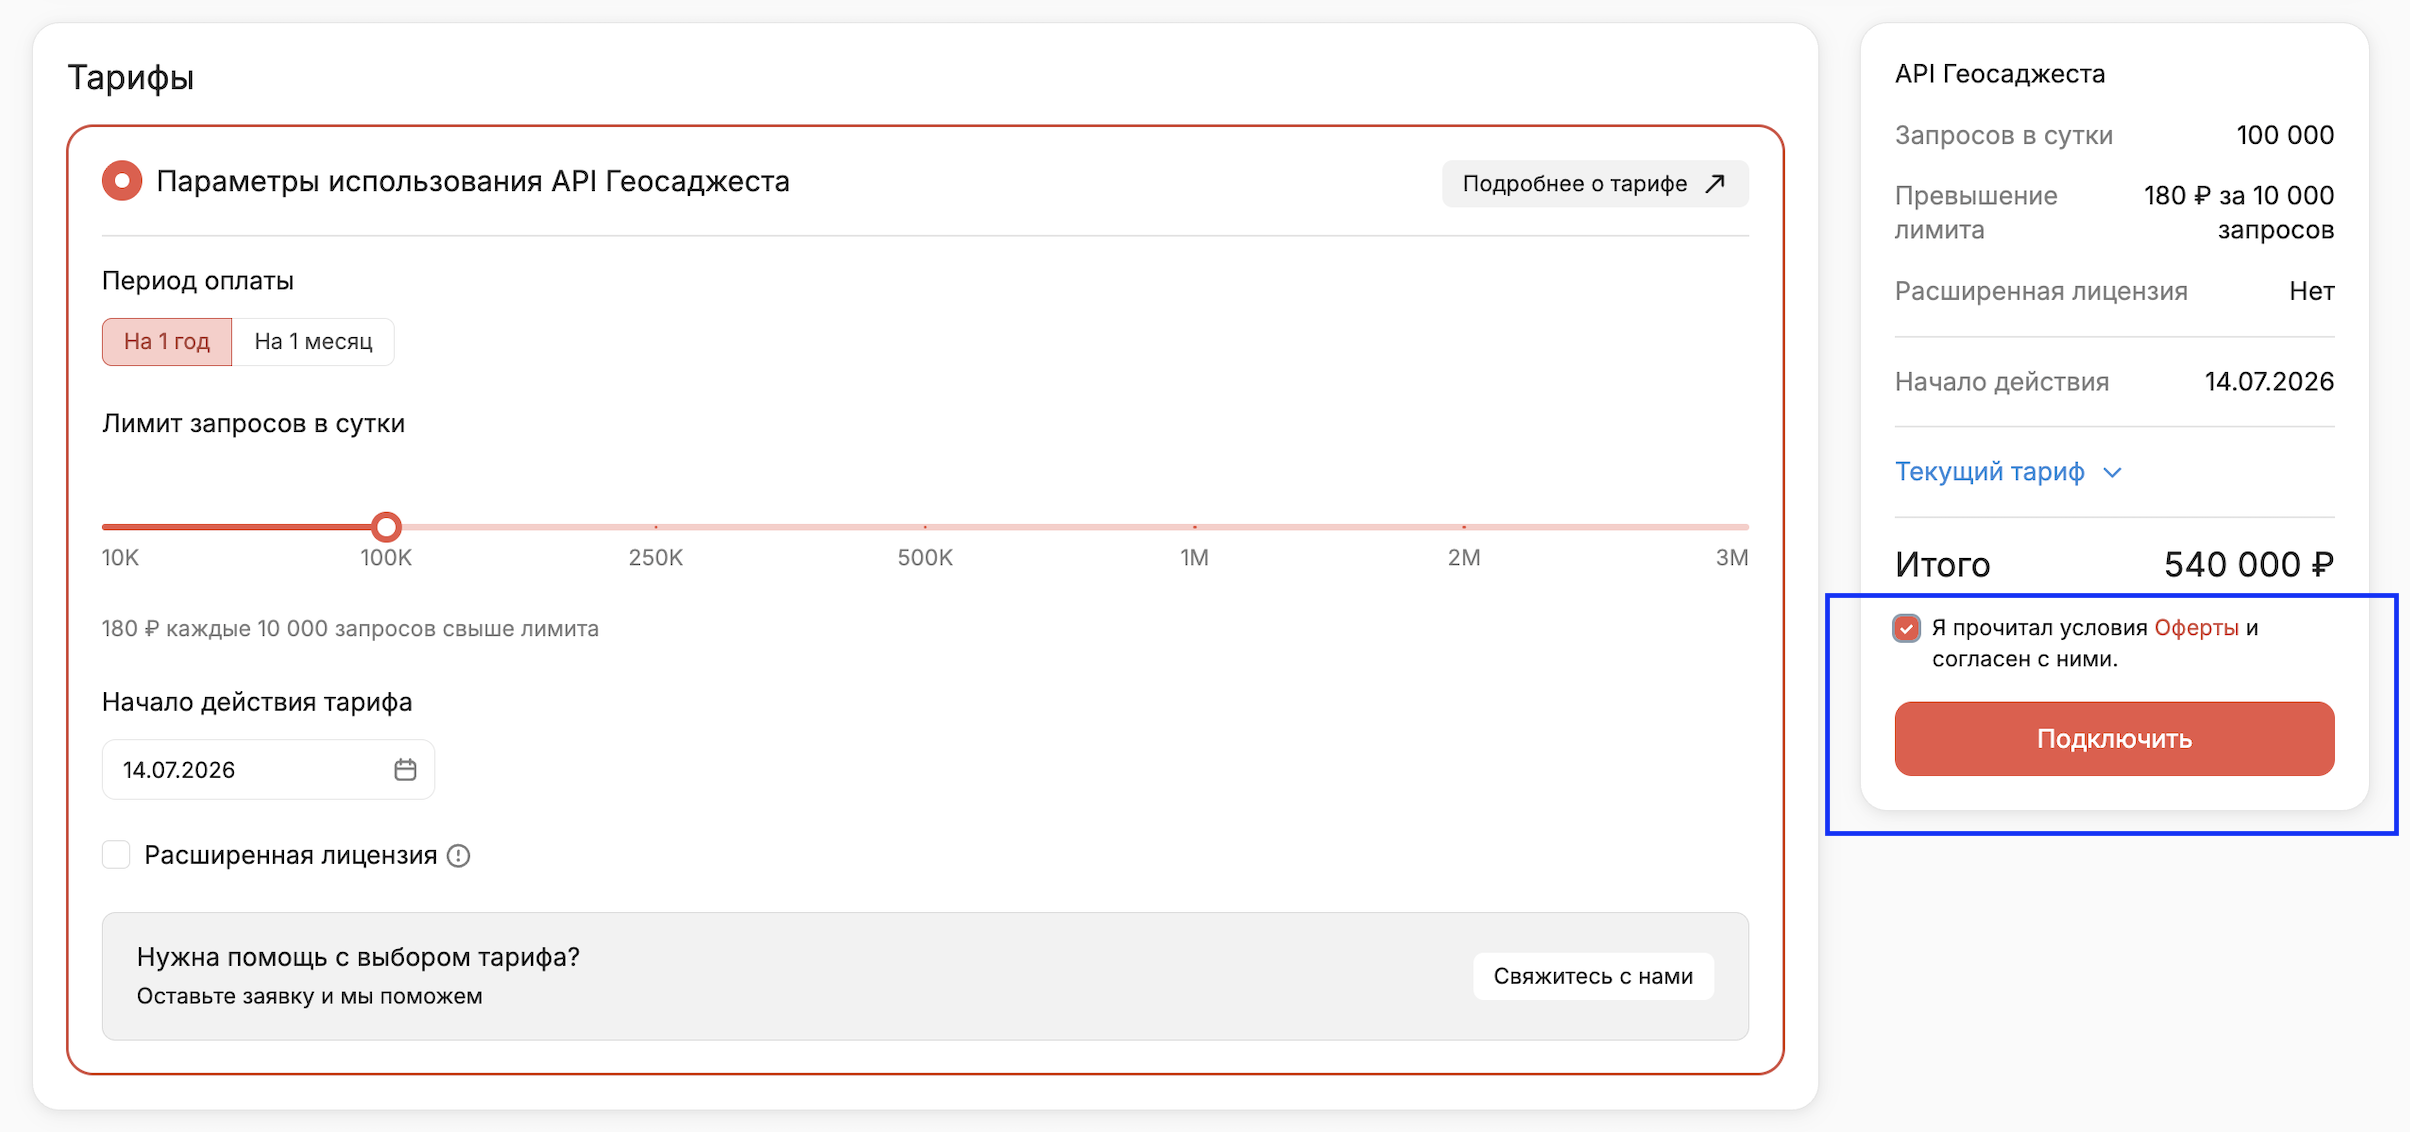
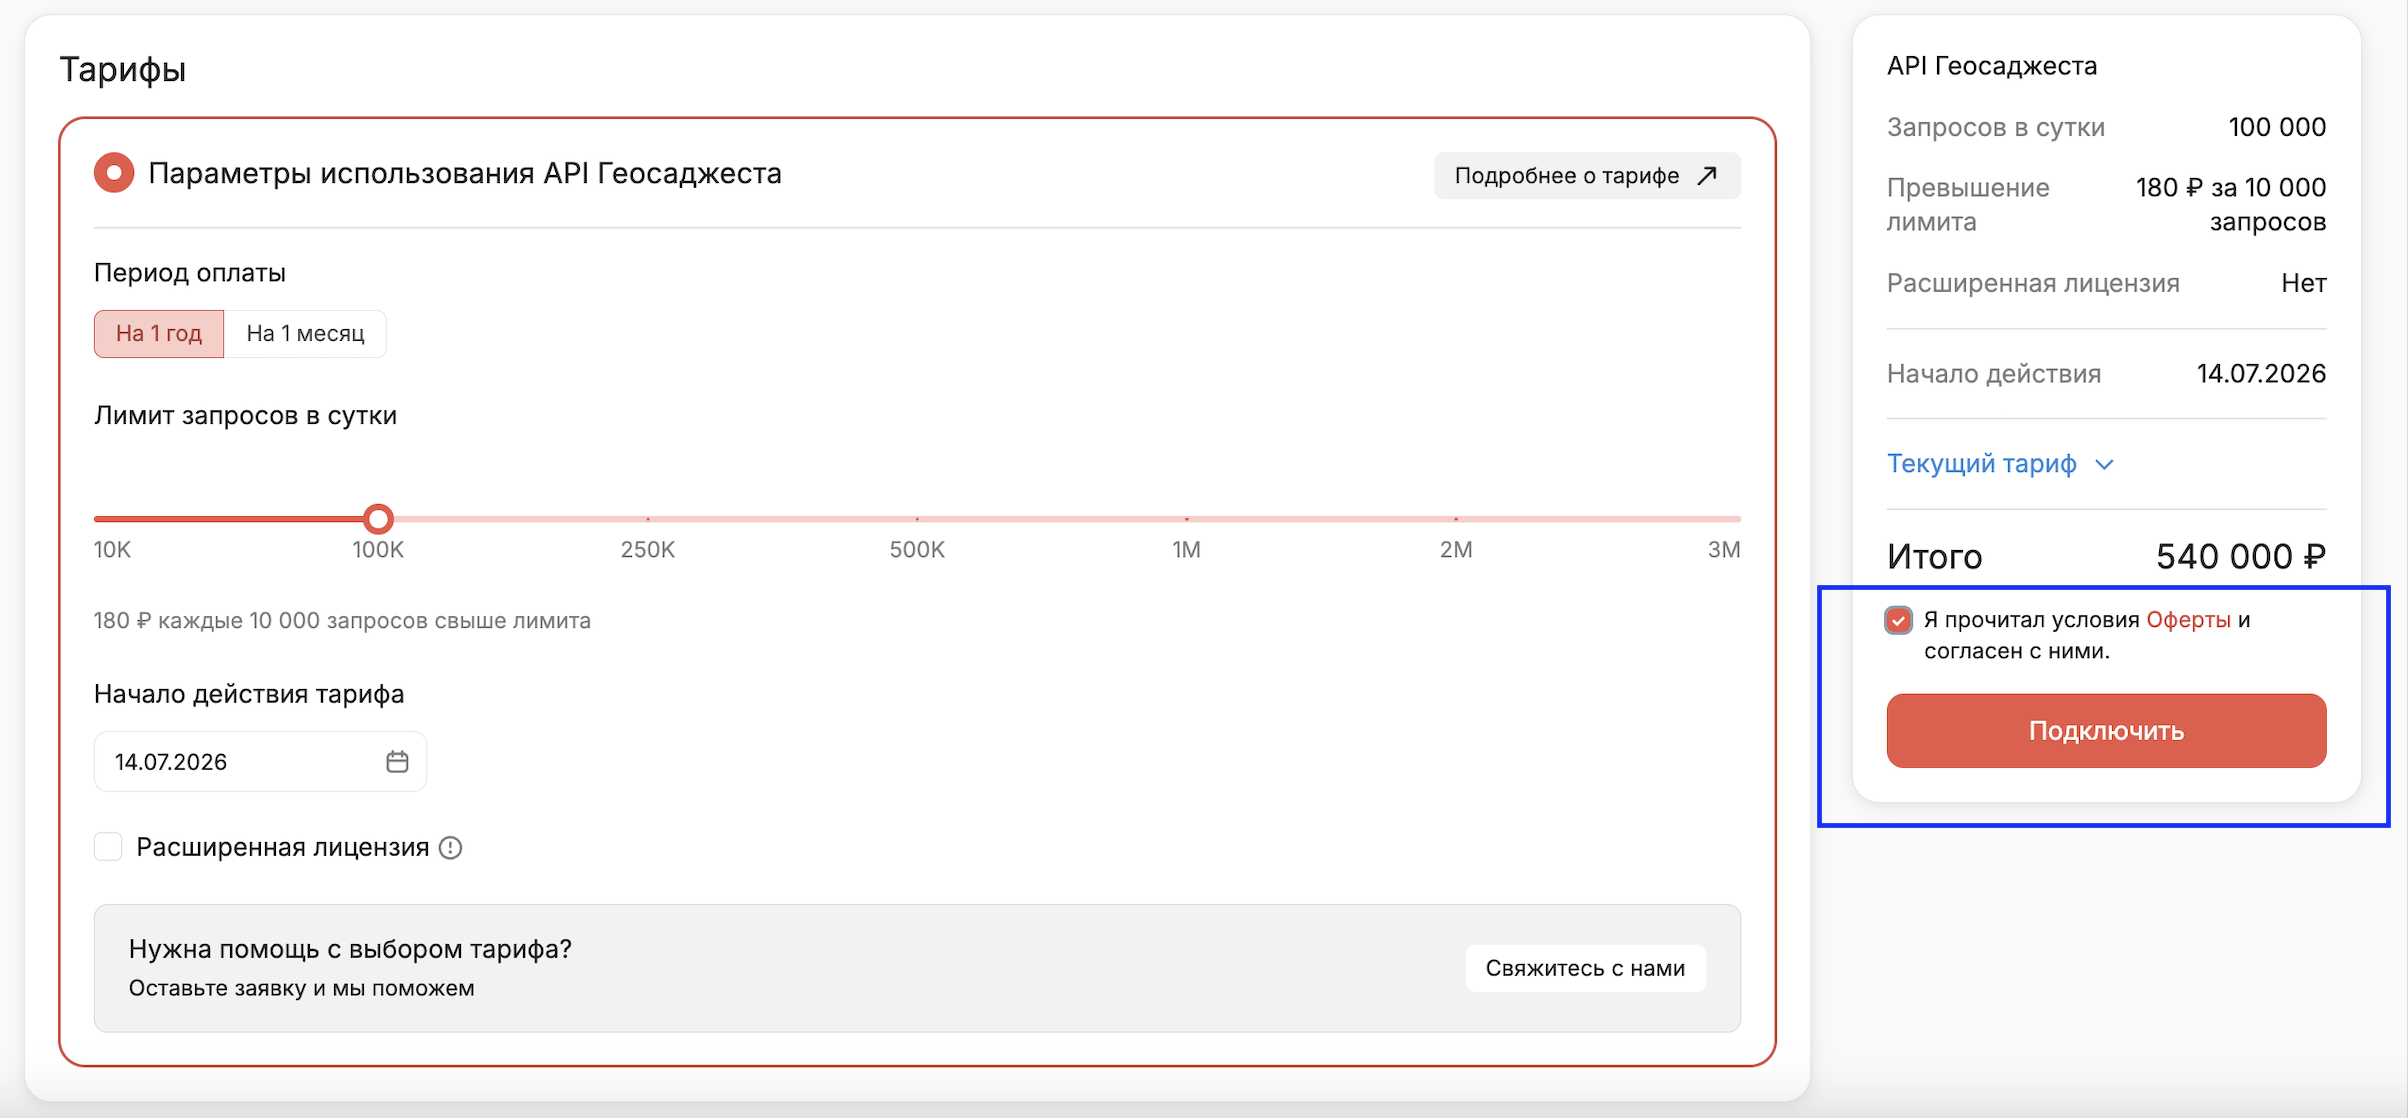
Read the terms of the Offer and select the checkbox.
-
Click the Connect. button
-
Step 4. Pay the plan cost
On the Plans - Plan Payment page that opens, you need to select a payer and issue an invoice for the plan cost. If you already have payers, select one from the list. If you are paying for the first time, add a new one:
-
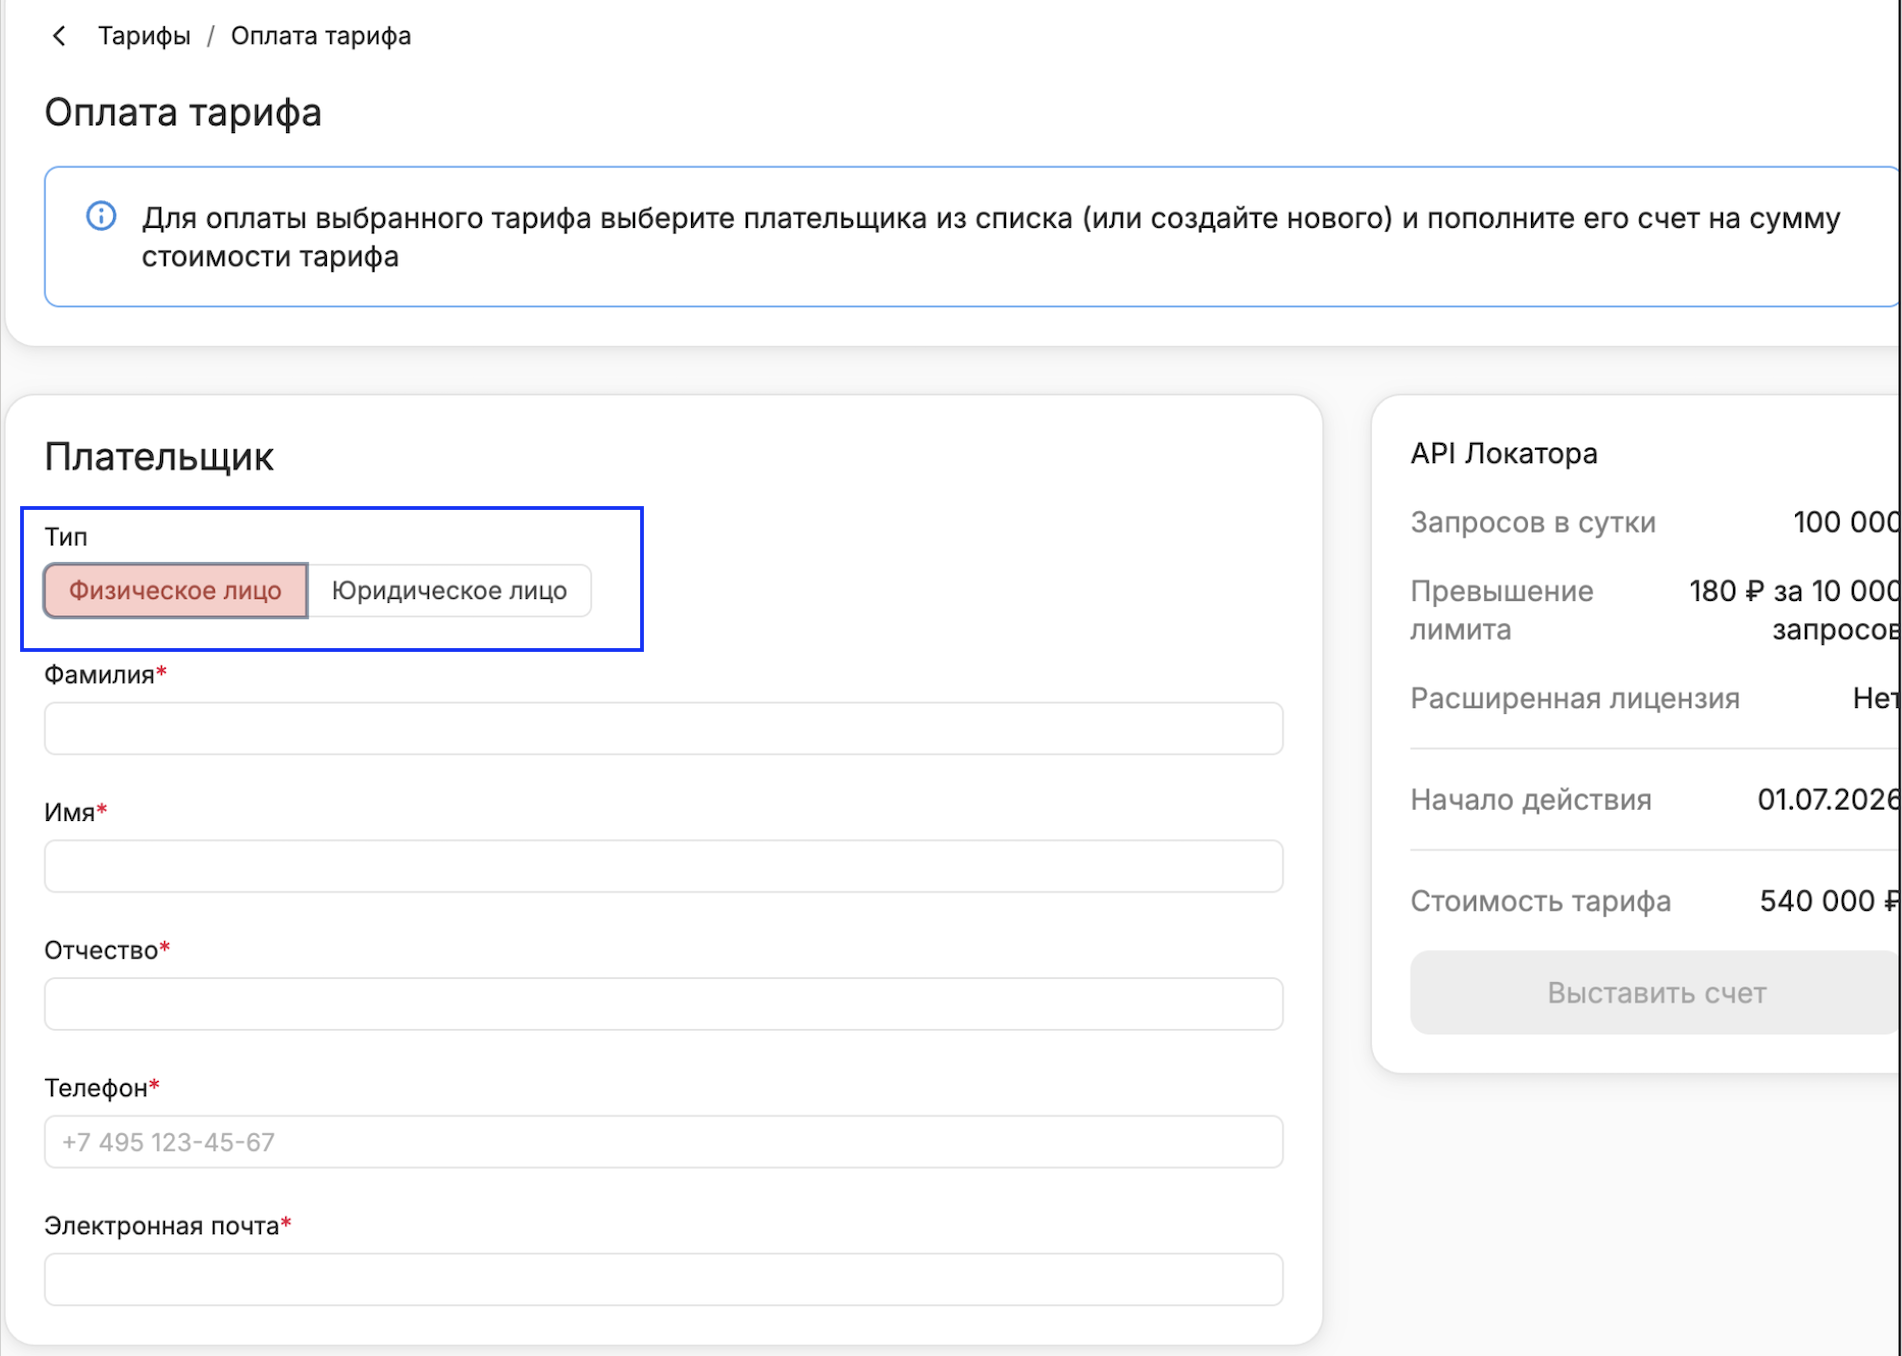
Select the payer type — a legal entity or an individual.
-
Fill in the payer details:
- Legal entity - TIN, organization name, full organization name with the form of ownership, phone number, email address, legal address, postal address, postal code.
- Individual - last name, first name, middle name, phone number, email address.
-
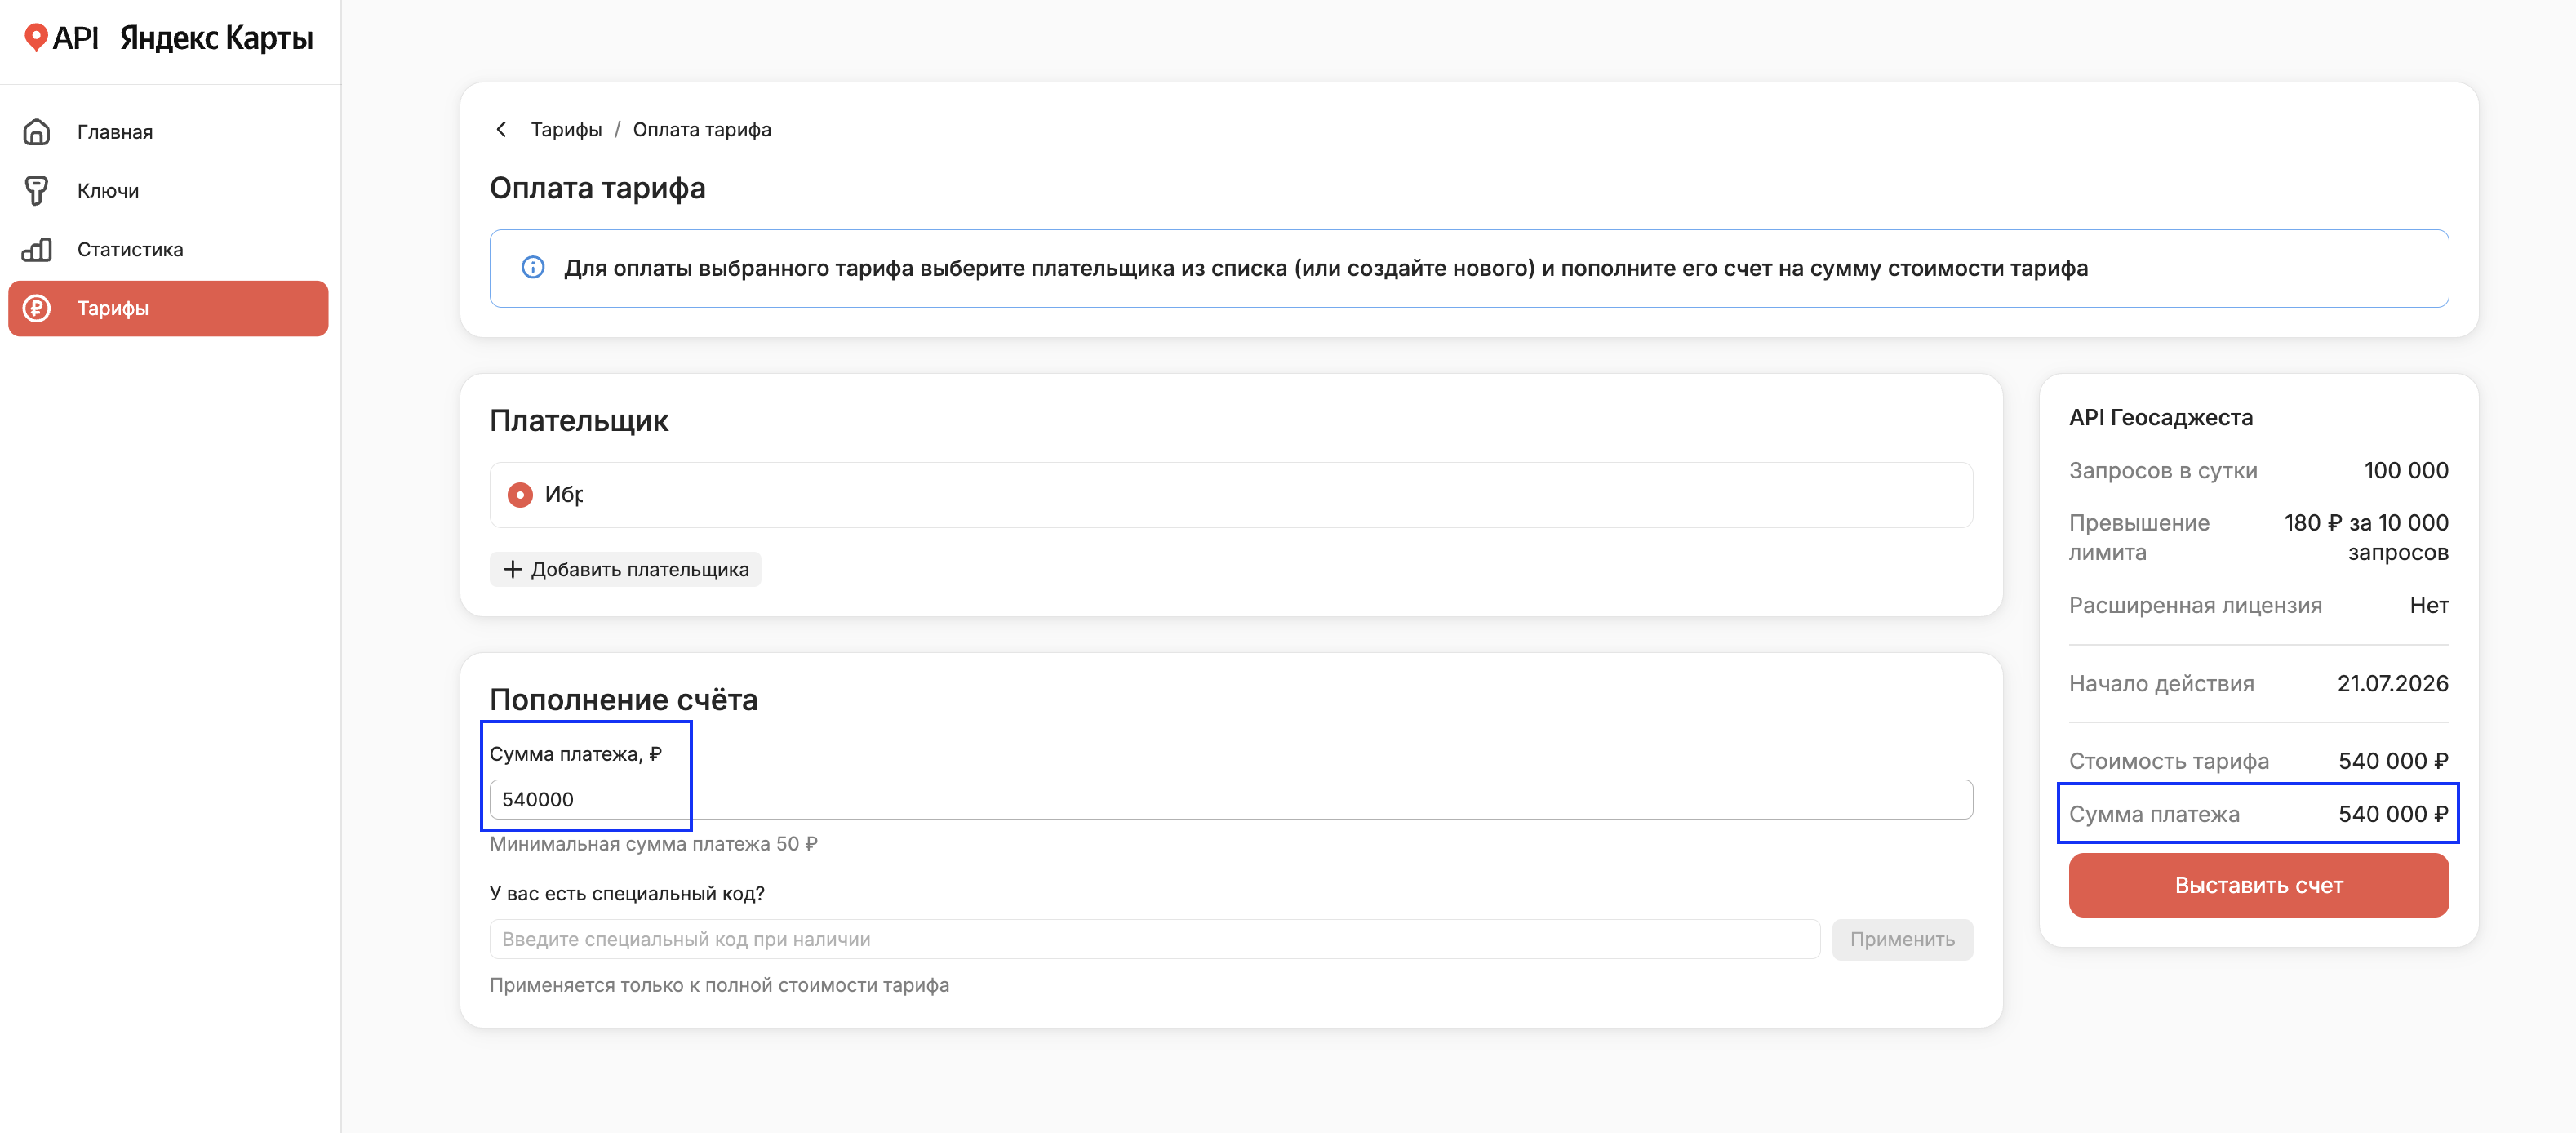
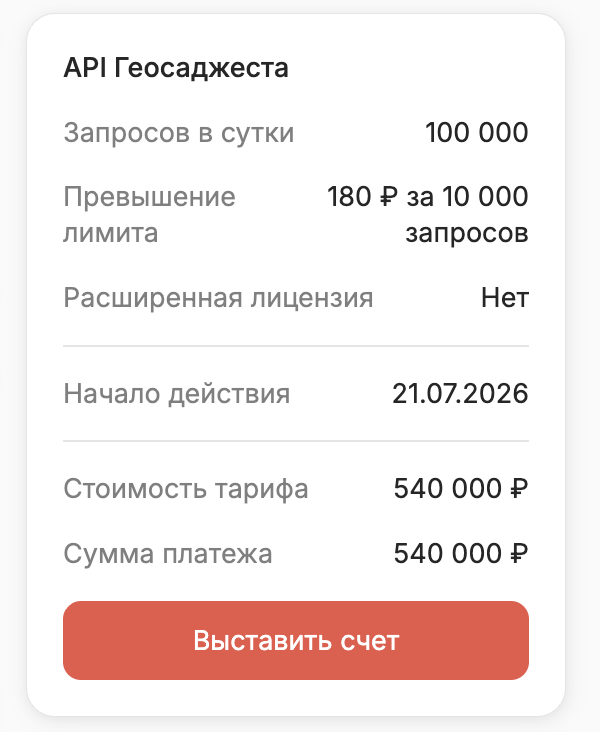
The payment amount is automatically set equal to the plan cost.
-
Click the Issue invoice button.
-
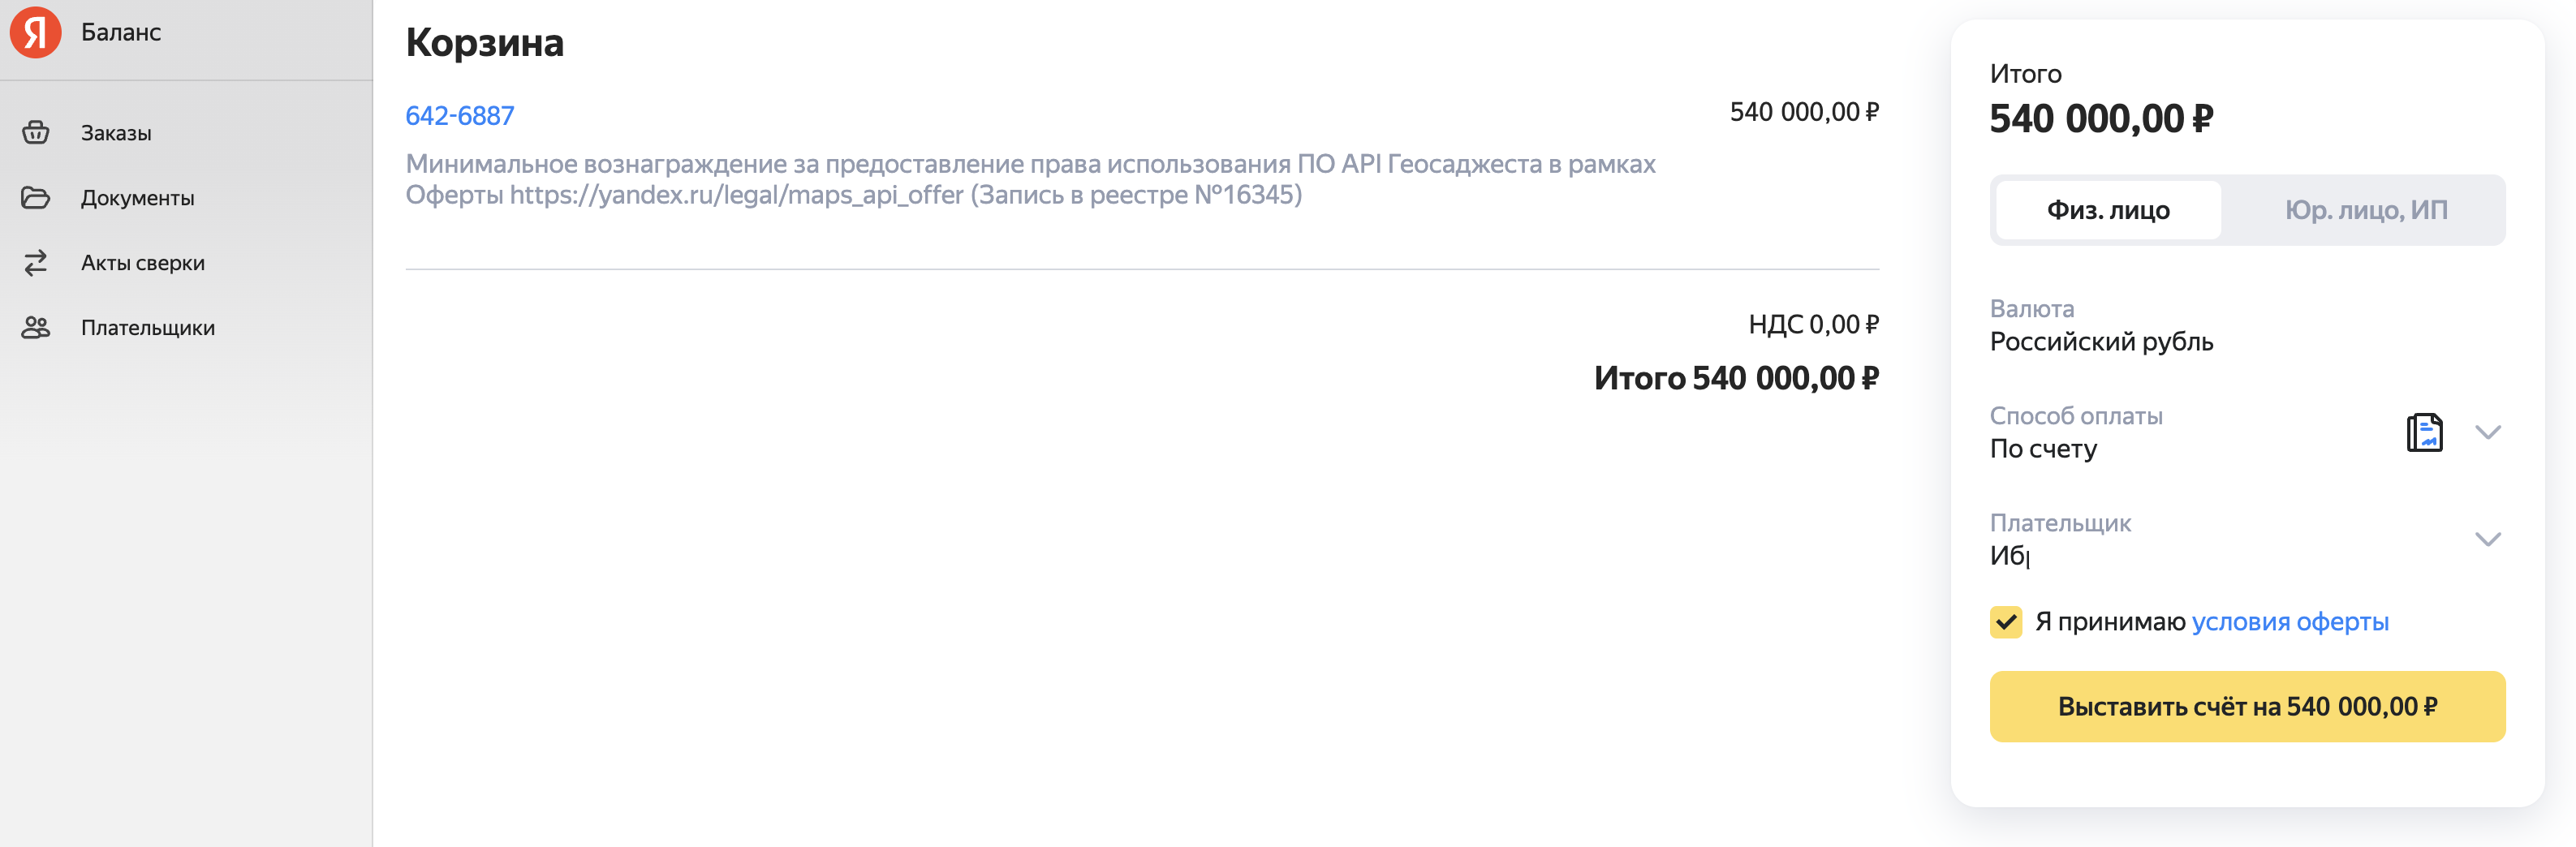
A page of the Yandex Balance personal account will automatically open in a new browser tab, where you can download the generated invoice to pay for the plan by bank transfer, card, etc.
-
Check the selected payer.
-
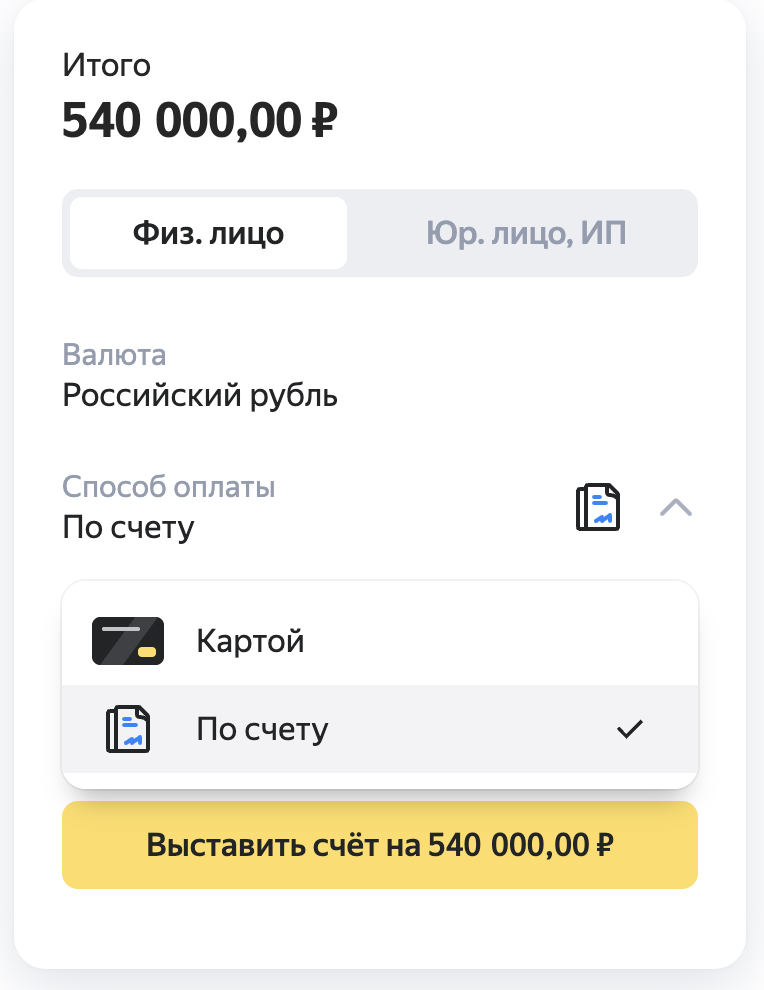
Select a payment method.
-
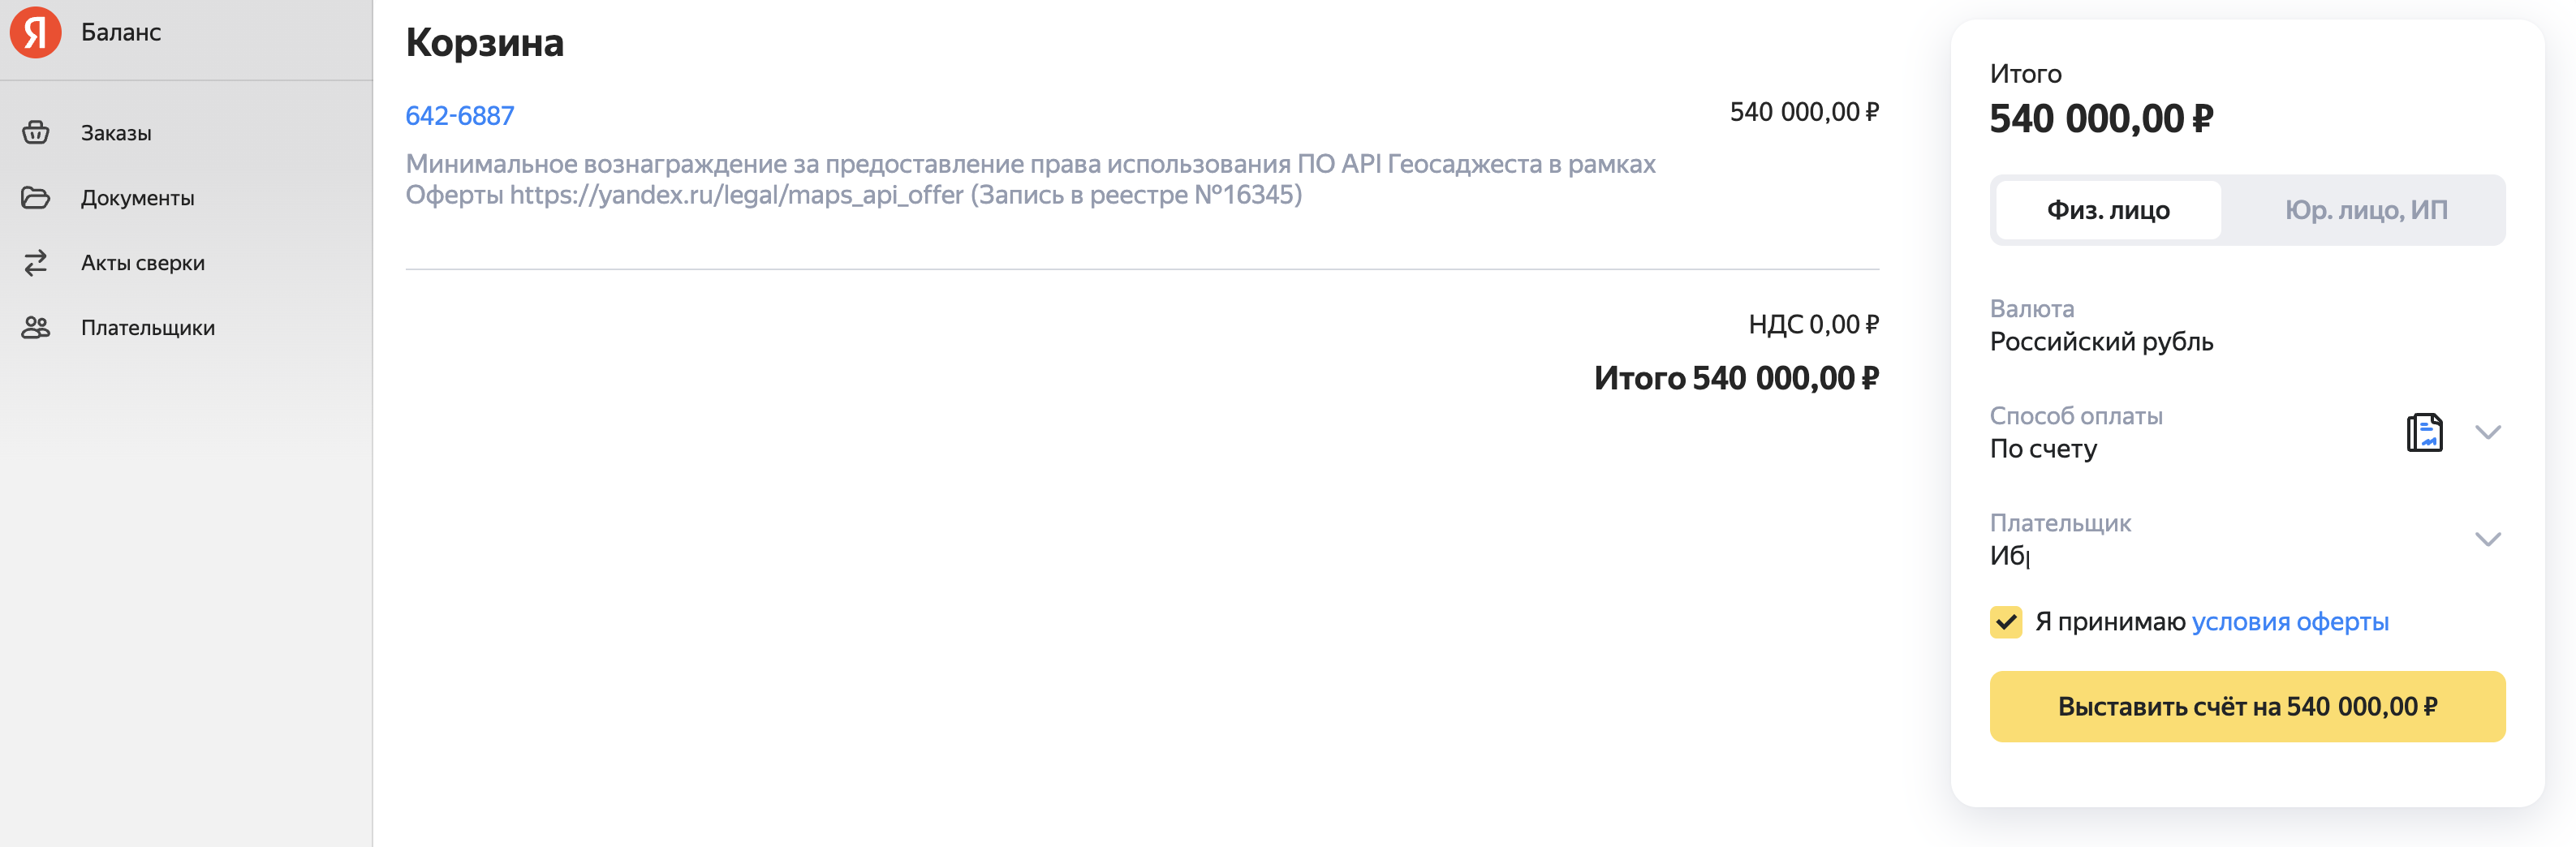
Click the Issue invoice for the amount button.
-
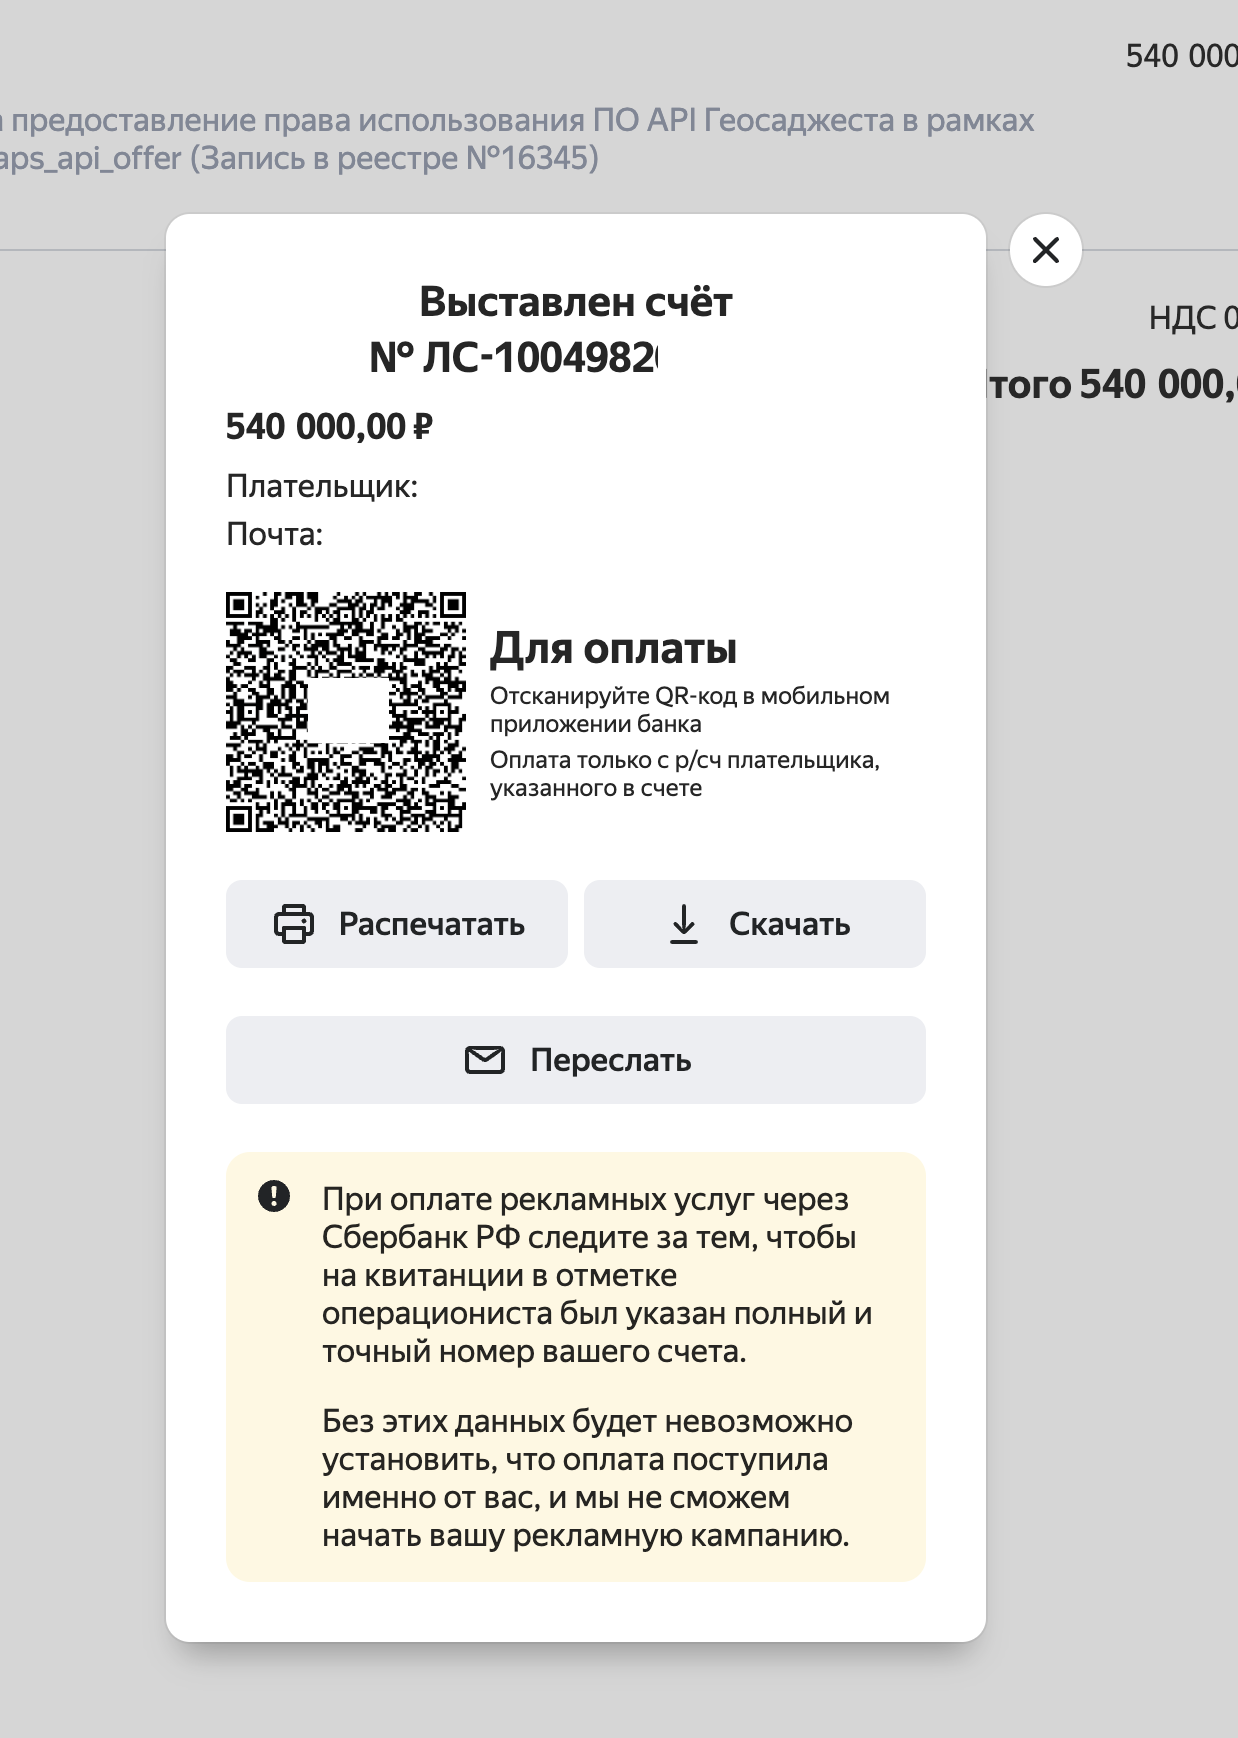
The invoice has been issued — you can download it or send it by email.
-
-
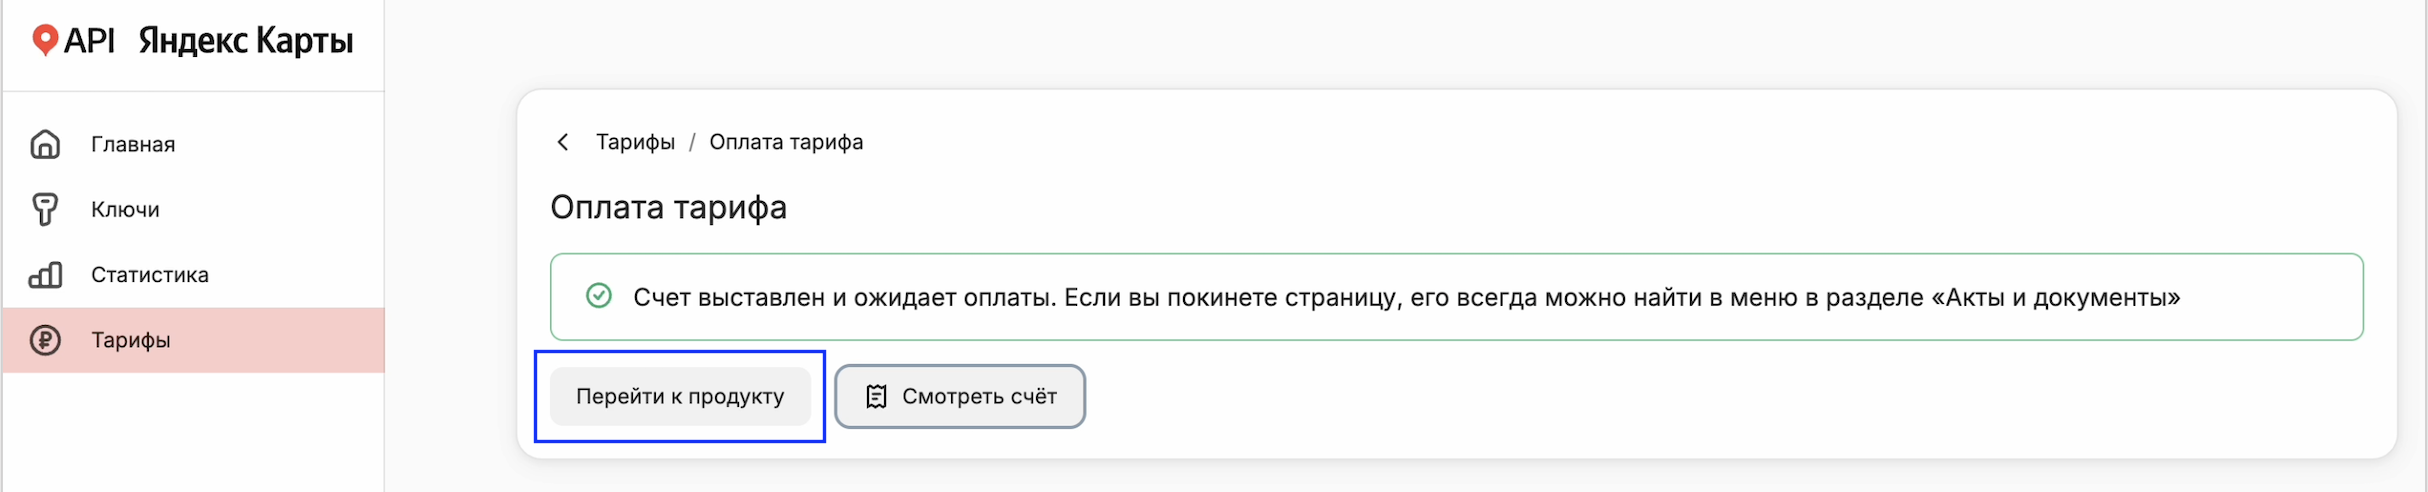
Return to the Yandex Maps API dashboard in the browser tab with the Plans - Plan Payment page and, to continue, click the Go to product button.
-
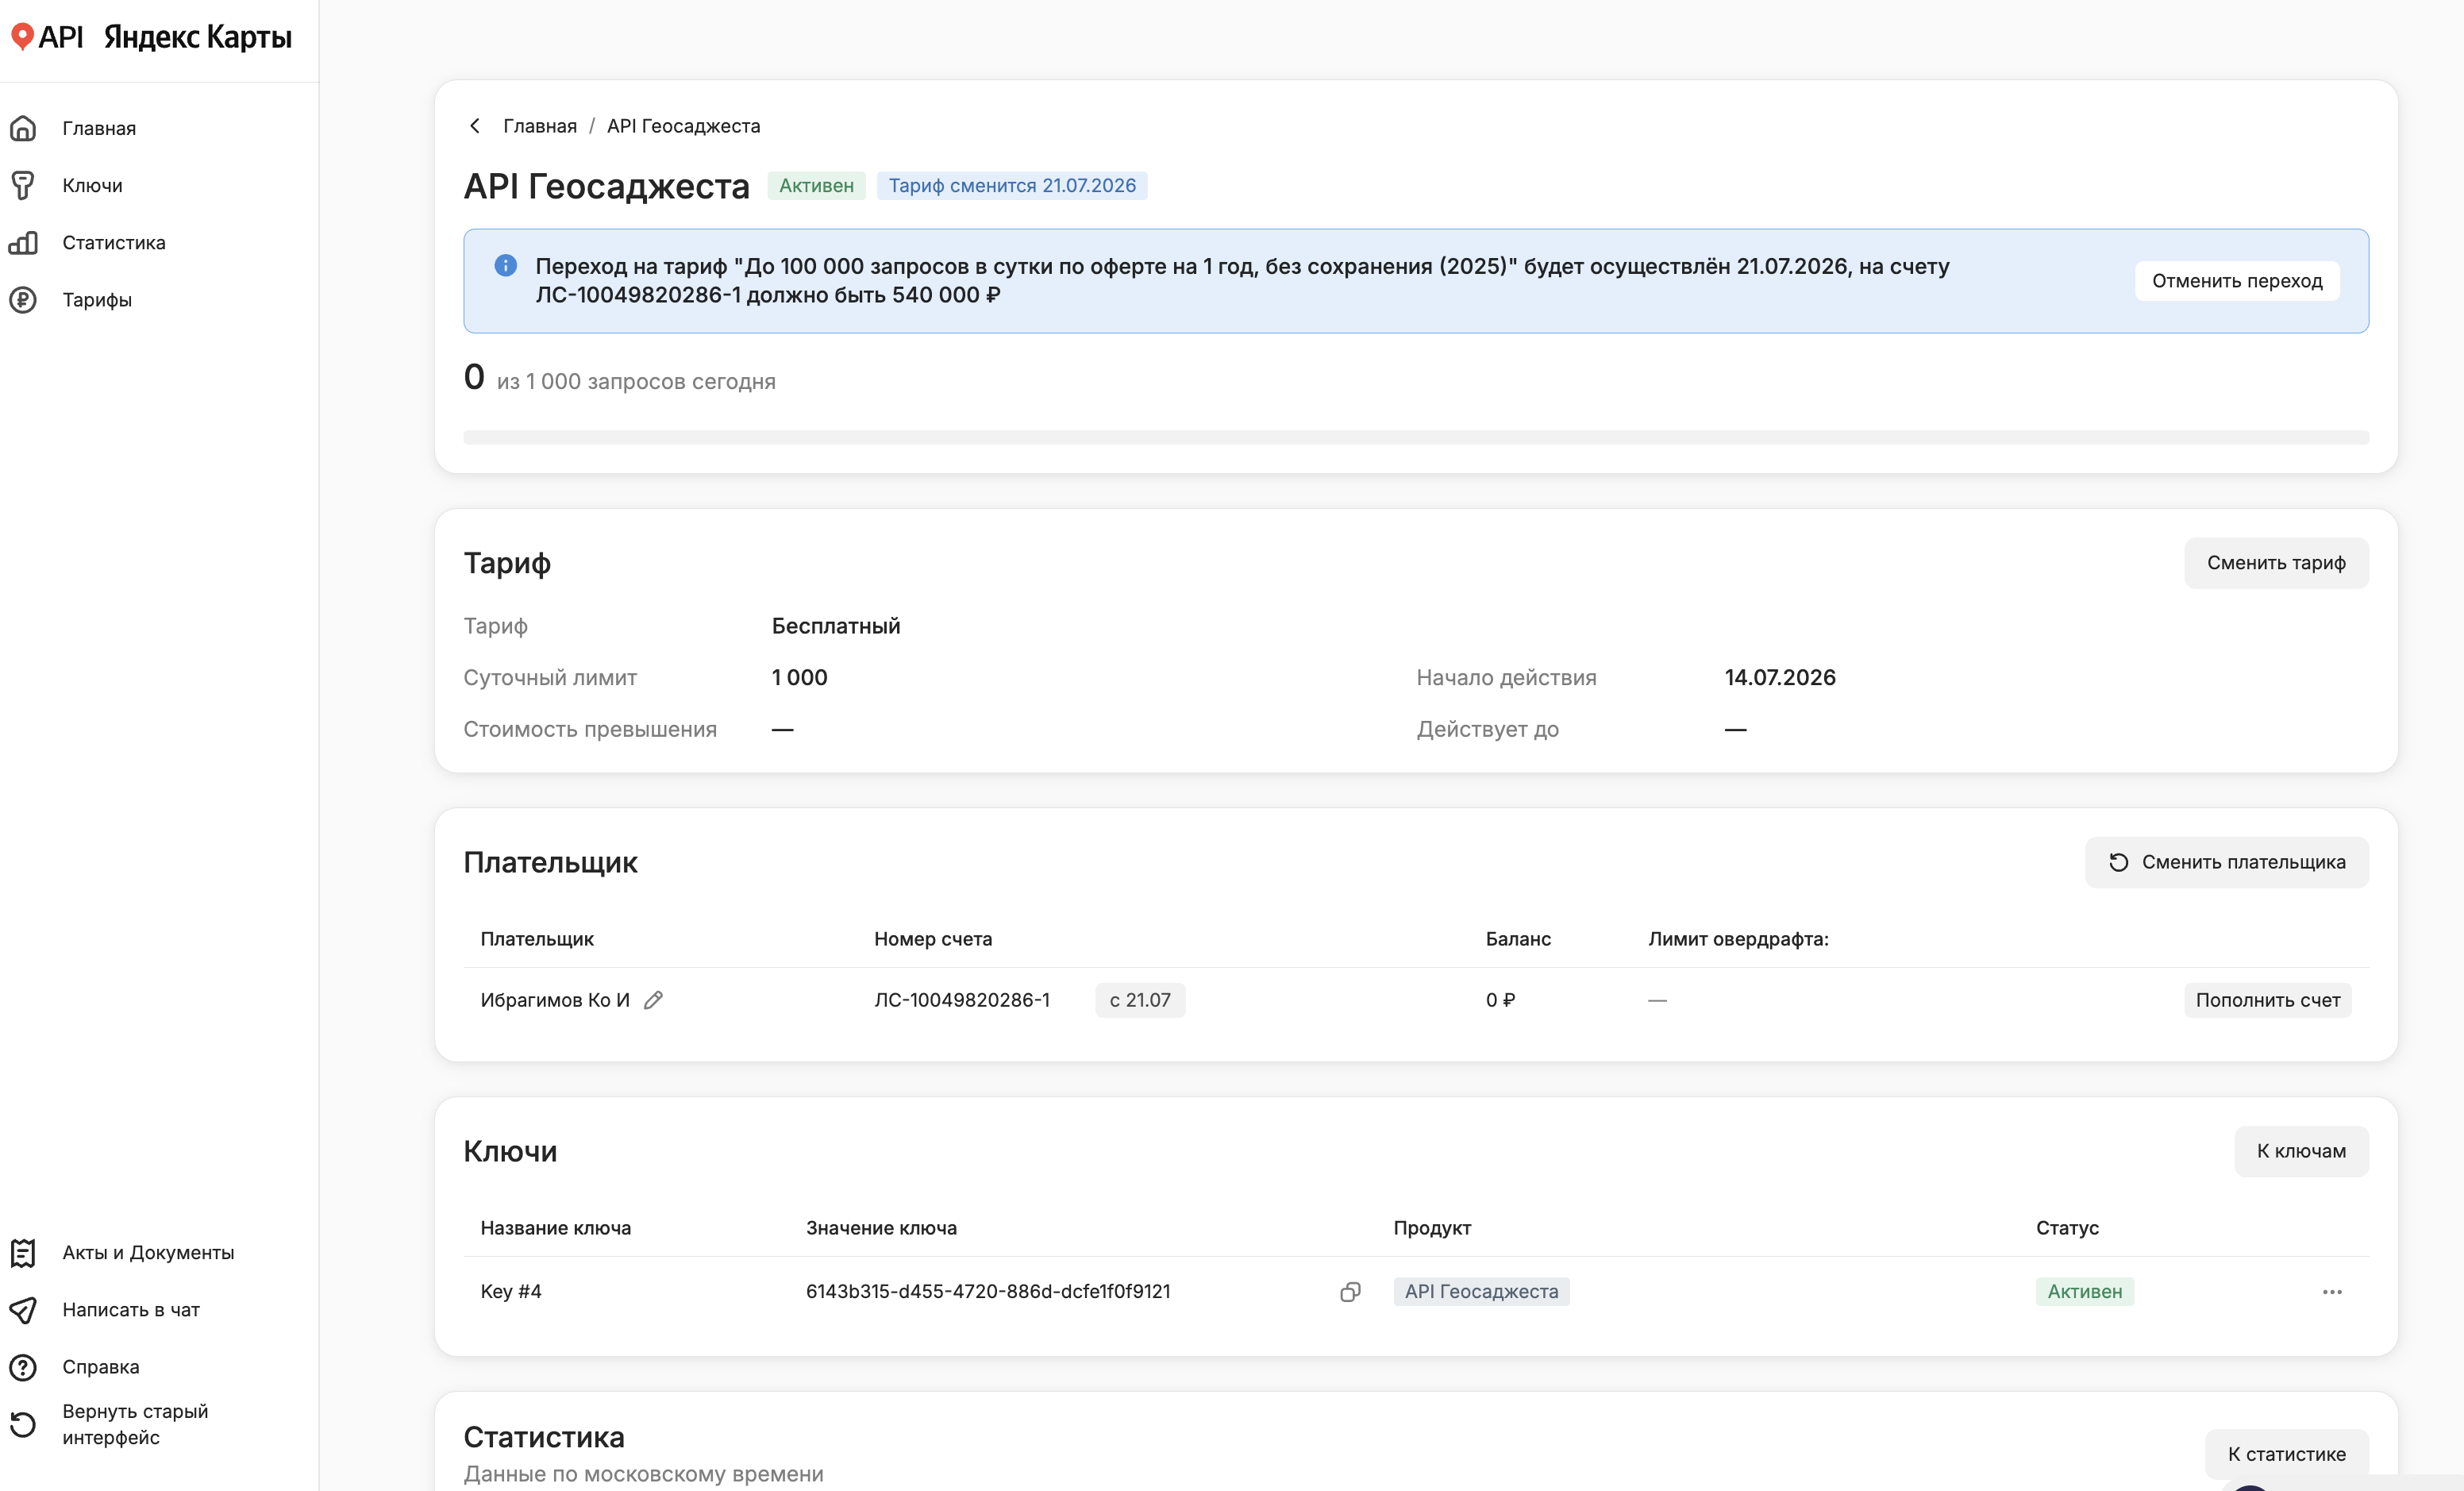
The product page contains the Plan, Payer, Keys, and Statistics sections.
Note
The time it takes for funds to arrive depends on the bank and on the chosen payment method; as a rule, card payments arrive faster, followed by a bank transfer, and the slowest is a transfer using a QR code.
After the funds arrive in the payer's personal account in Yandex Balance, the paid plan is activated on the selected plan start date.
Step 5. Set up the API key (for the JavaScript API)
Note
JavaScript API 3.0 works only with keys that have the "HTTP Referer restriction" field filled in. More about restrictions
An API key is a unique identifier that provides access to one or more Yandex Maps API products. The first key is created automatically when you connect API products. For paid plans, the key becomes active on the selected plan start date. If needed, you can create new keys yourself by going to the Keys section of the main menu.
To set up the key on the JavaScript API product page, in the Keys section:
-
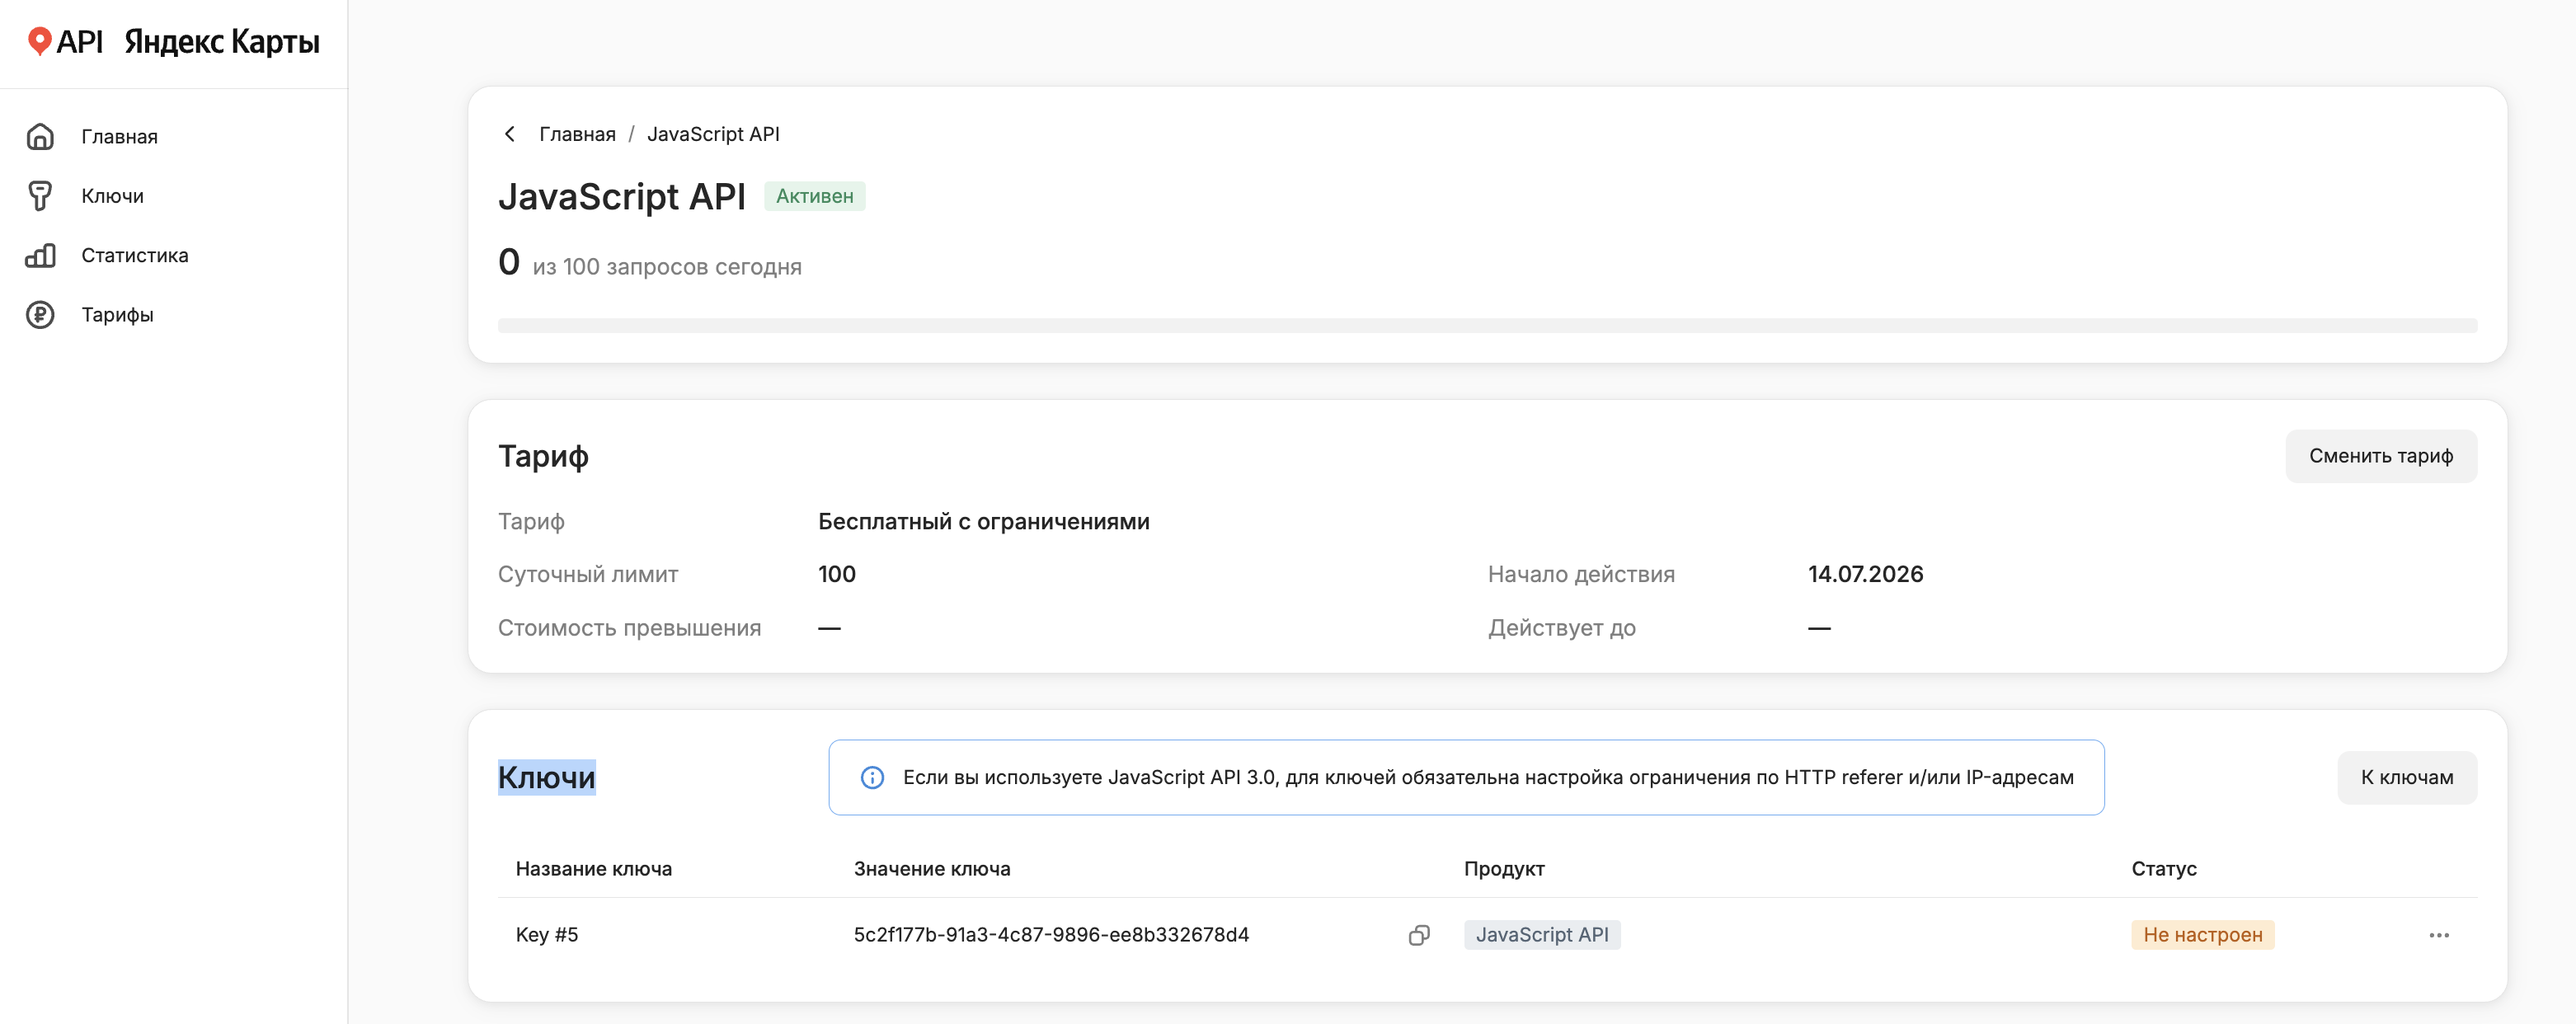
Find the key created automatically when the JavaScript API product was connected. The key status is Not configured.
-
On the right, in the row with the key data, click
 and then Set up.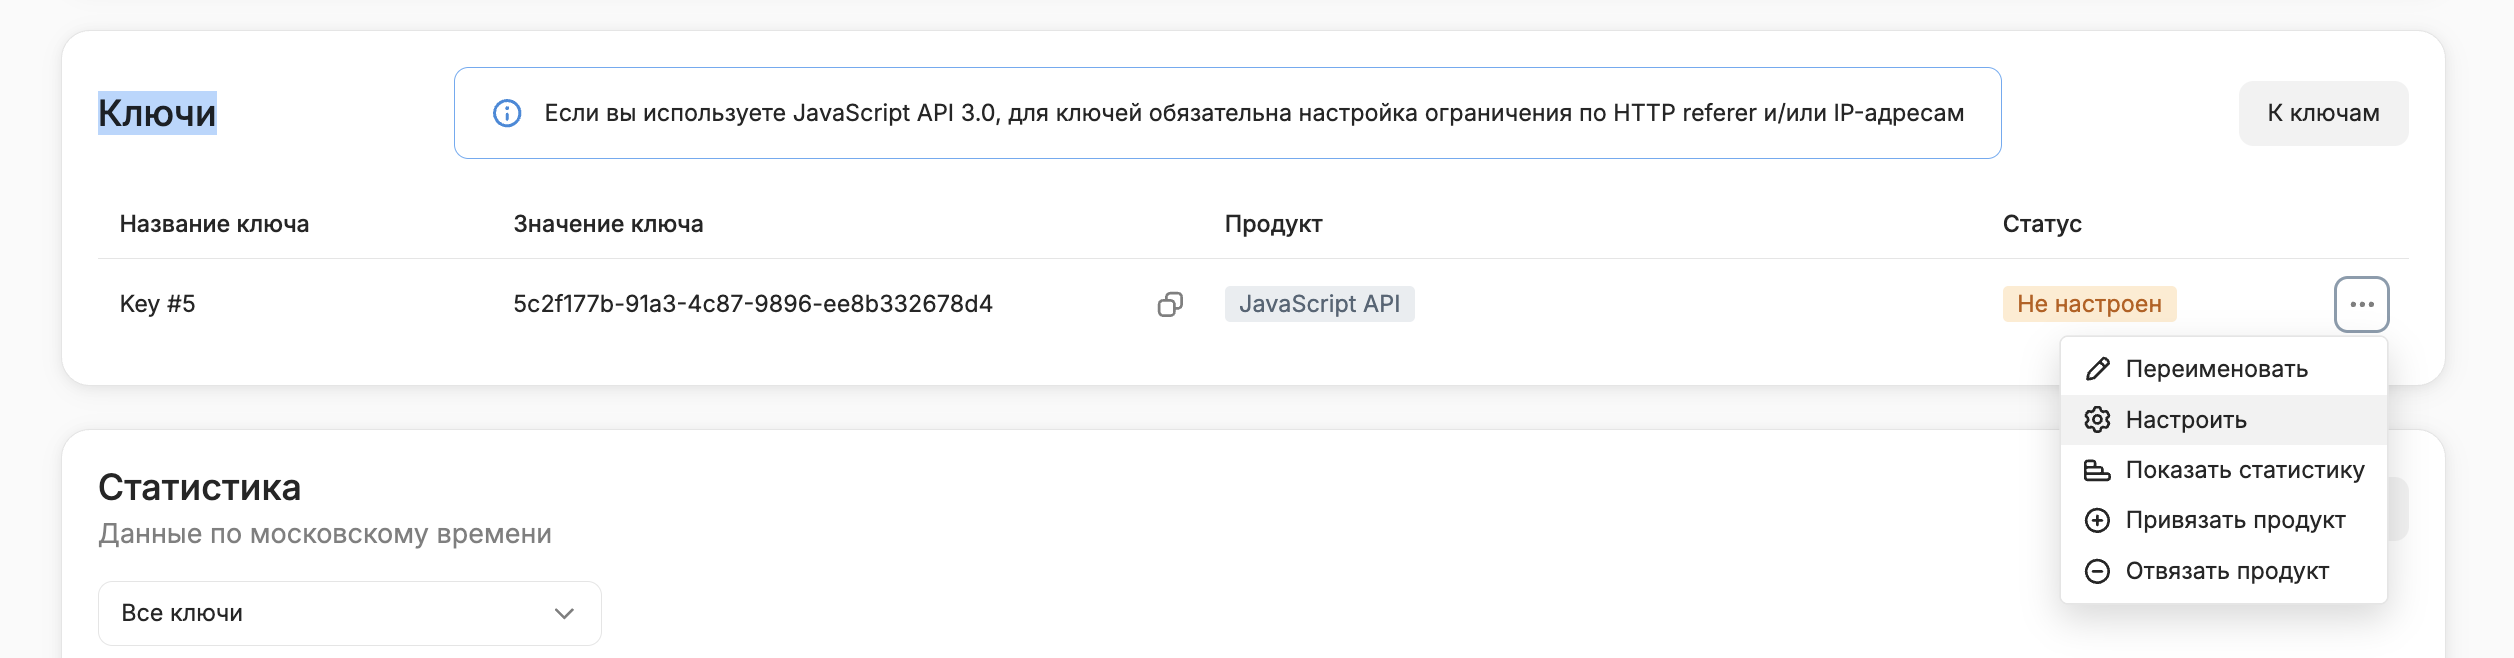
-
Configure the key restrictions - the HTTP referer restriction.
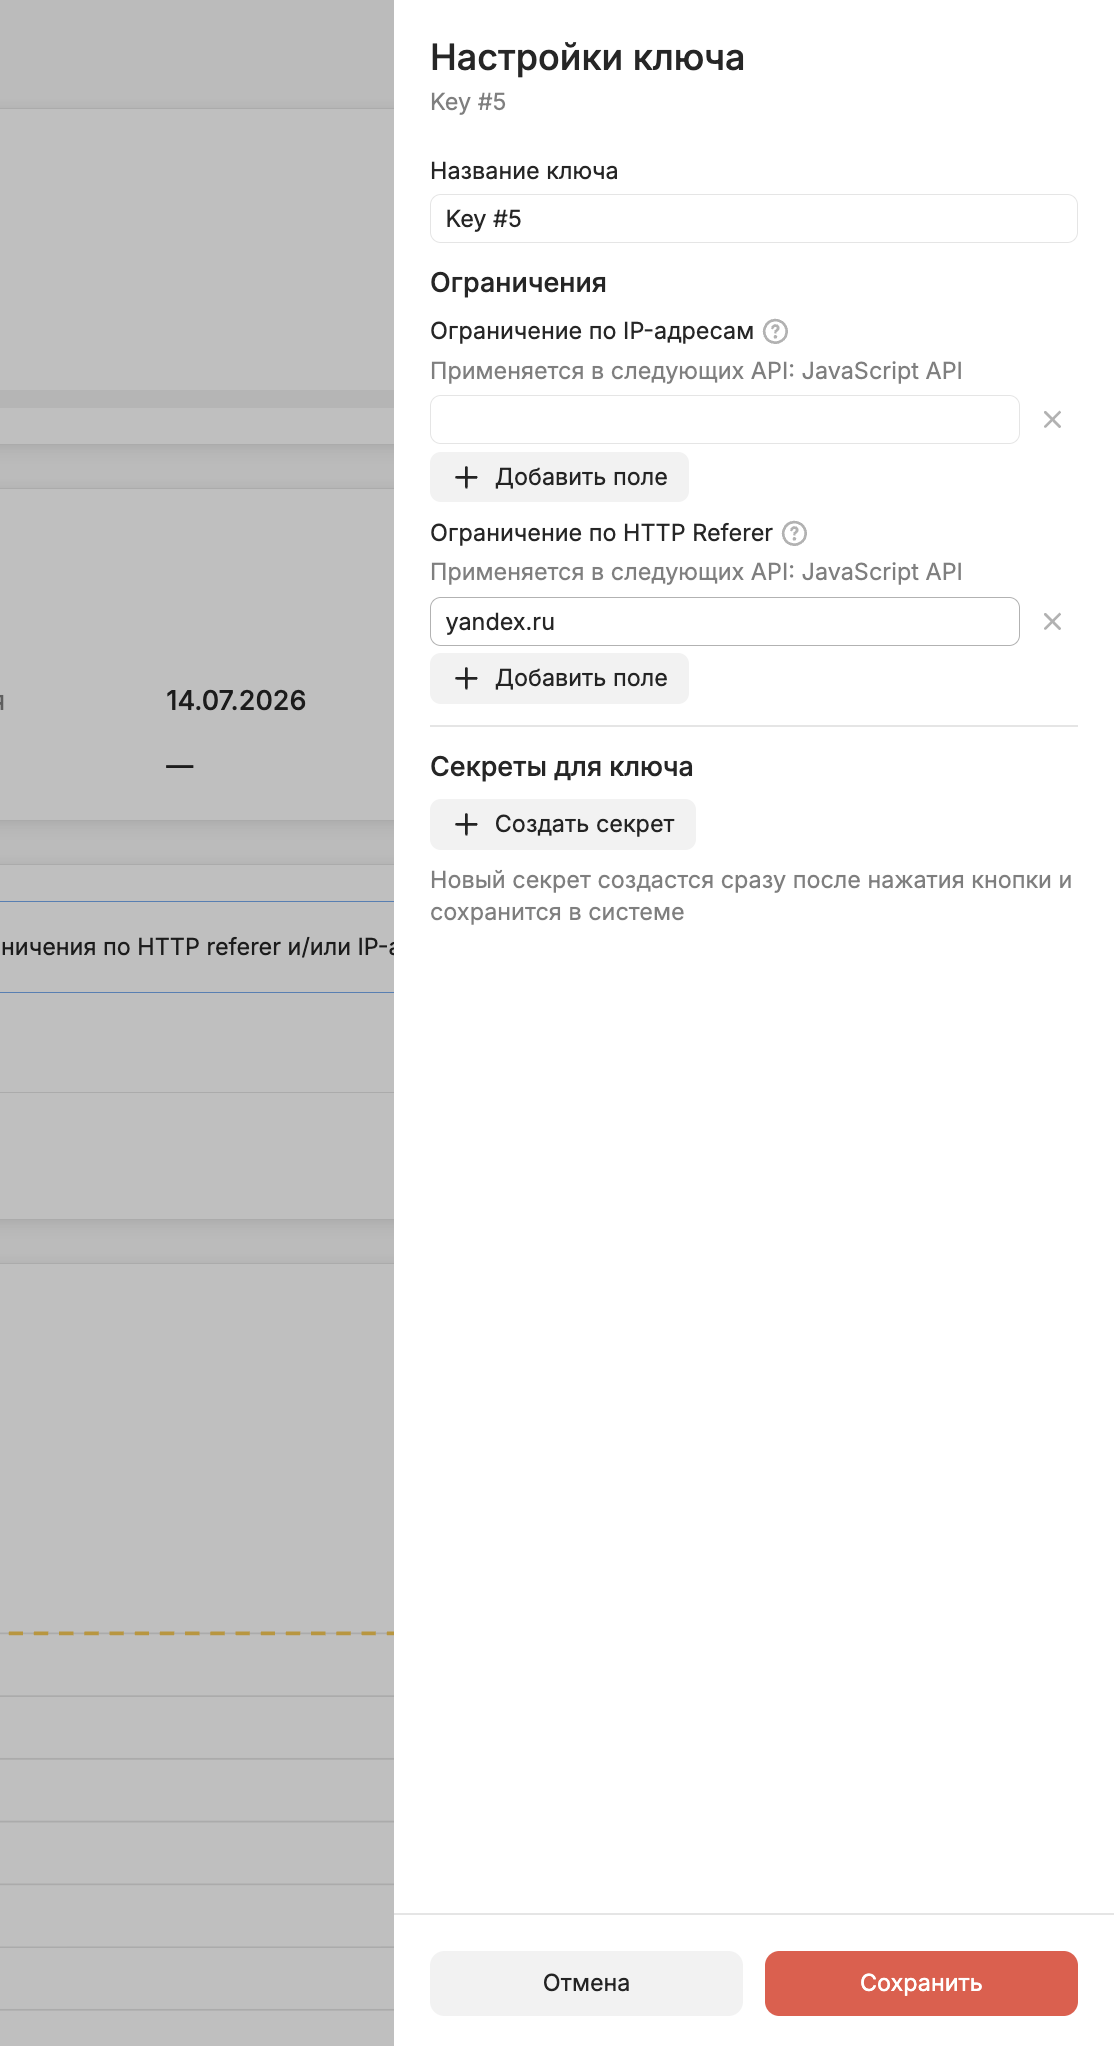
-
Click the Save button.
-
Make sure the key status has changed to Active.

Note
To block the key-product link, select the key, click and Unlink product; the key-product link status will change to "Inactive".
Next steps
In the Dashboard, you can also:
-
Add new keys, link/unlink keys to Yandex Maps API products, and change a key's name
-
View and download statistics for individual keys and products
-
Top up the personal account and switch between payers
-
Follow the links in the Yandex Balance personal account to change payer details and review acts and documents
A free plan is also available for some products.